THE BLOG
Camera Upgrade - Canon EOS M5 Review
The images that the Canon M5 produce are top notch, simply put if you are into landscape photography then this is the mirrorless camera you need..
Camera Upgrade - Canon EOS M5 Review
After 2 years of solid performance (examples here), my faithful Canon G16 has finally handed in its notice and is being replaced by a new workhorse known as the Canon M5. This new camera is a substantial upgrade in all corners of camera technology compared to the G16 bringing along with it an 8x bigger image sensor, double the megapixels and the ability to swap out lenses which will be a huge benefit.
The Key Specs:
- 24 Megapixels
- APS-C sensor
- Electronic viewfinder
- Mirrorless design
- Touch screen
- Articulating screen
- Flip flash
- Smartphone remote control
So firstly let's dive deeper into some of those specs and see what this camera is all about, starting with its mirrorless design. This is referring to the fact it doesn't use an actual mirror inside the camera to reflect the image passing through the lens up to the viewfinder, thus saving a large amount of space (ever wonder why those big DSLR's are so big?). In mirrorless designs the image you see through the viewfinder and on the back screen are both projected electronically straight from the sensor, this is excellent for people needing a more compact and lighter camera, perfect for travel!
Below is a quick sketch I did to help you visualize the differences:
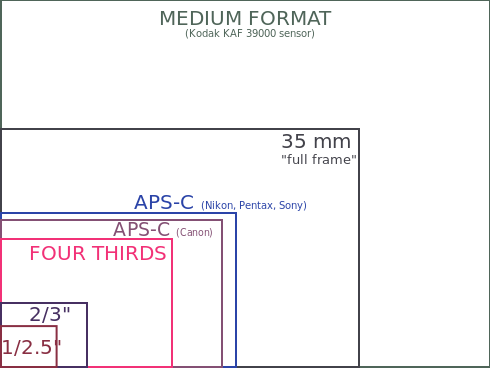
Moving onto the APS-C sensor which is refering the size of the sensor, this part of the camera is important for a few things, one of them being the amount of light the camera can grab from the scene it see's when you press the shutter, the smaller the sensor the less light that will make its way onto the sensor meaning there is more chance of a noisy (grainy) image.
The sensor also helps create depth of field in a image, ever wonder why all those photos you take on your phone have everything in focus? A larger sensor gives greater depth of field meaning you can create beautiful photos with blurry backgrounds. The APS-C sensor is a pretty common size for mid to top-end cameras, with 'full frame' used in pro cameras and medium format reserved for concept cameras.
Performance:
So after giving the Canon M5 a decent run about with a few different lenses it's fair to say that the M5 is a pretty responsive camera, it has a high quality touch screen which is a really nice addition even if the dials and buttons are very intuitive and quick to use.
I noticed the camera seemed a little slow to process images after taking long exposures and the focus isn't the fastest.. But this camera isn't made for sports photography or subjects that need speedy auto-focus and high fps captures, where it excels is in its beautiful colours that create wonderful high quality images, which brings us to the next point..
Image Quality:
The images that the Canon M5 produce are top notch, simply put if you are into landscape photography then this is the mirrorless camera you need! Given the time you get when snapping landscapes this camera can really shine, its 24MP's can produce high detail colour rich shots ready for large scale printing.
'Beautiful image quality is where this camera really holds its highest cards'
Build Quality:
The camera at first glance looks delicate with so many dials and buttons and its small appearance, but after handling it you get the sense that it is made pretty sturdy with a metal hood around the top housing the dials. The rest of the body is made from high quality plastic and covered in a grippy rubber outer layer, in general it feels like it would handle a few knocks. The only thing that lets it down is the fold out screen, it has 2 very thin metal arms for support which with normal careful use will be fine but I could see them bending easily if the screen gets a knock while it is extended.
ISO Range:
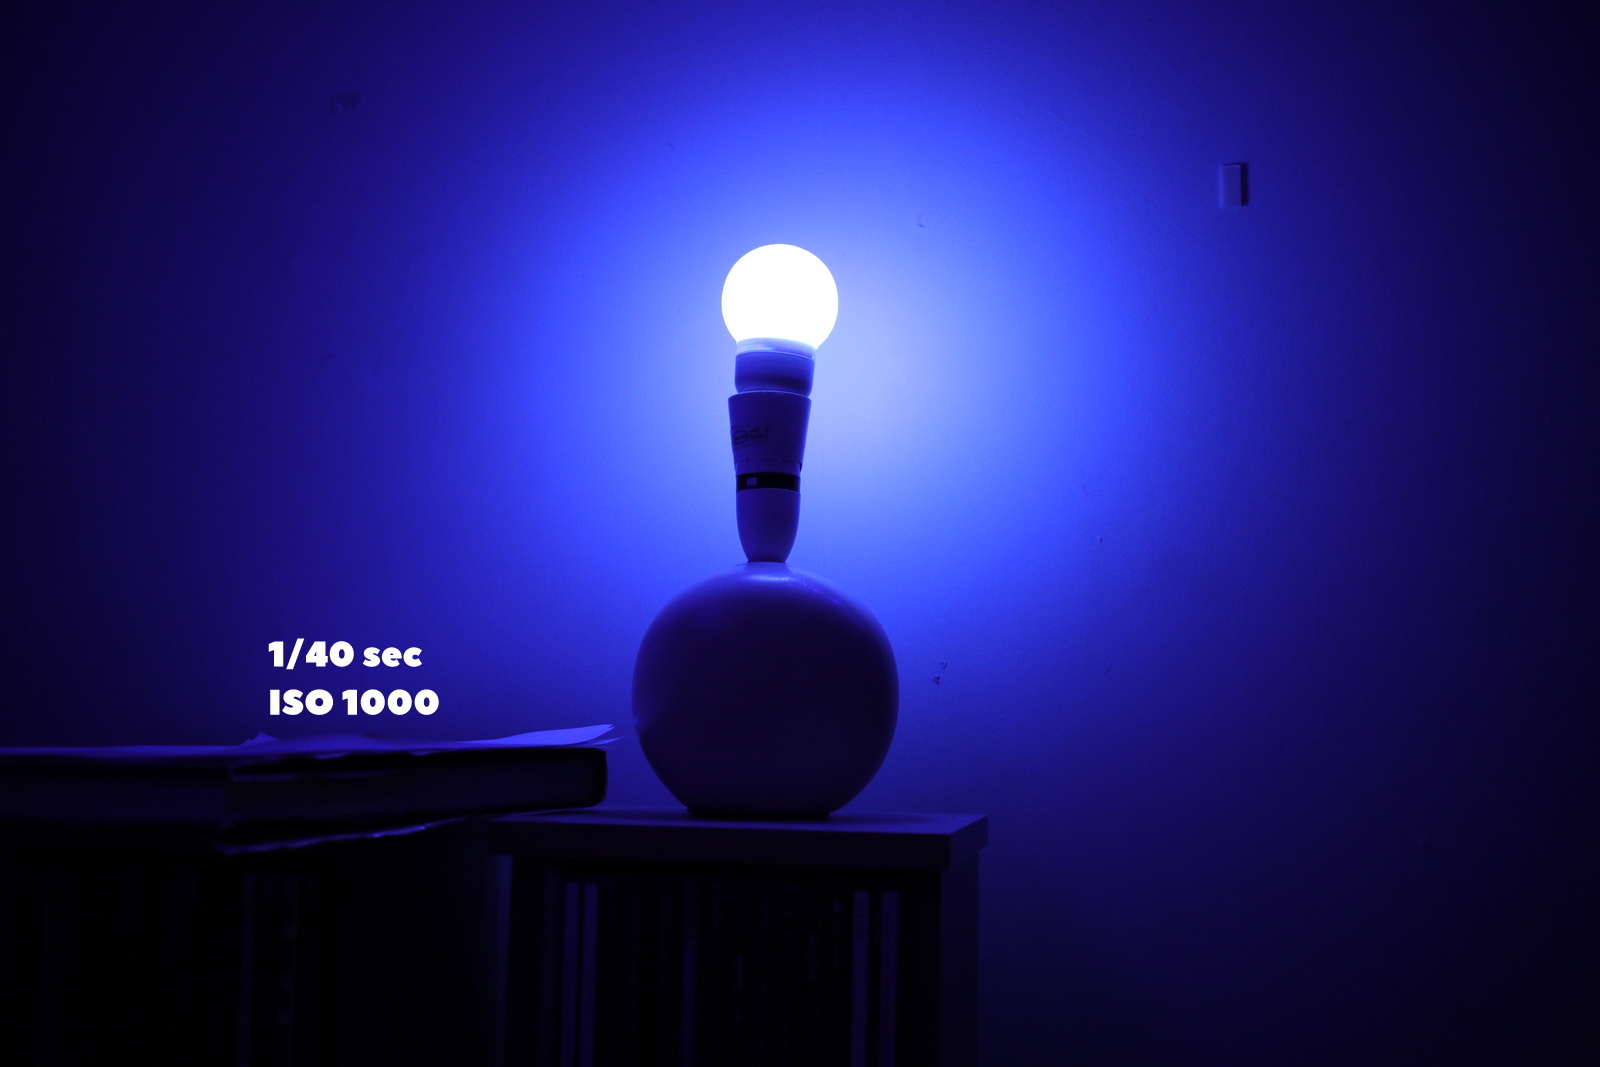
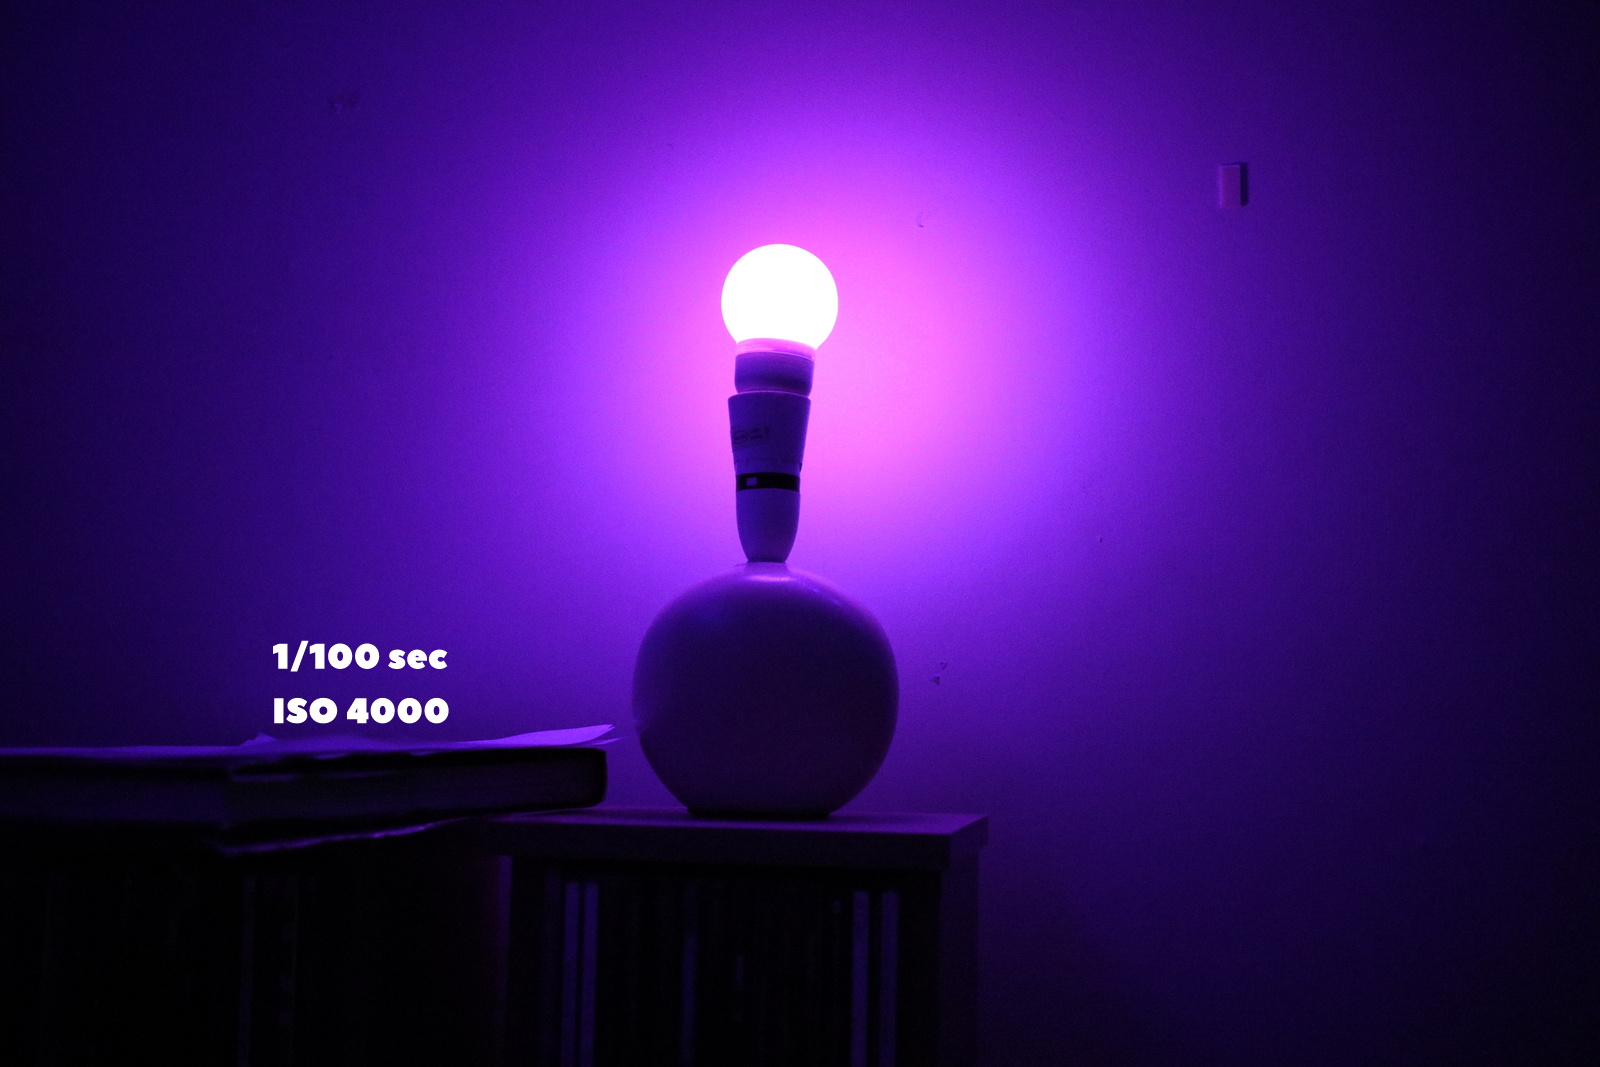
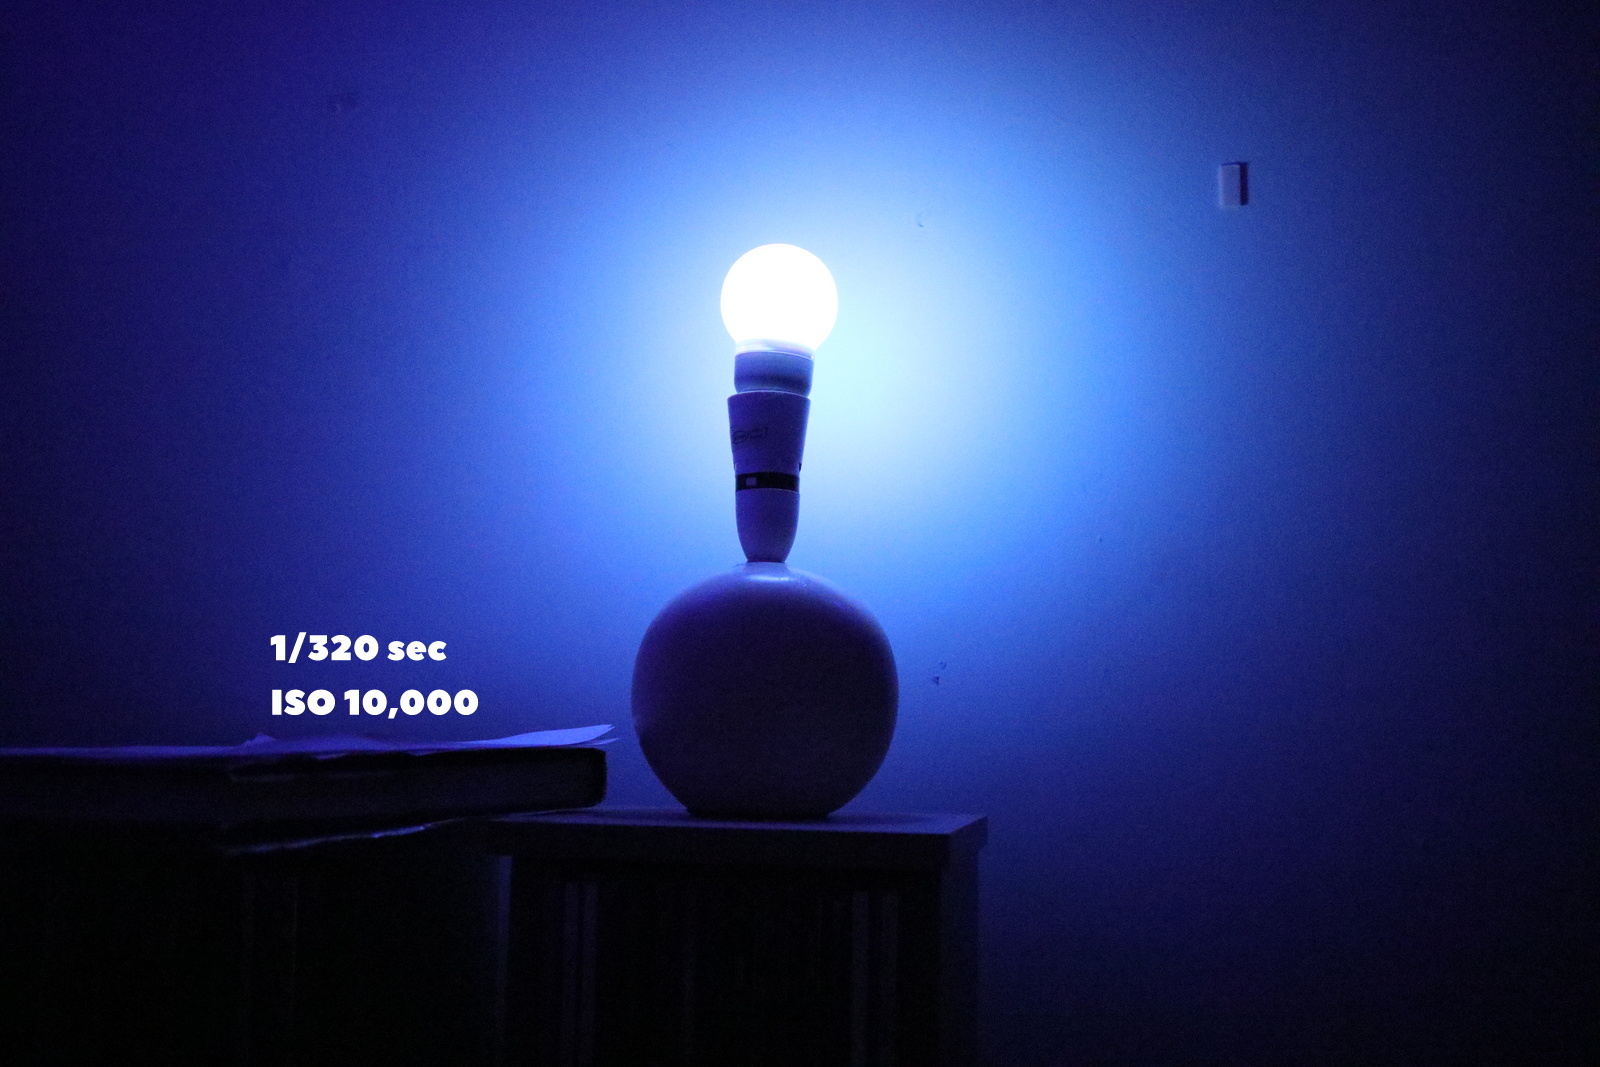
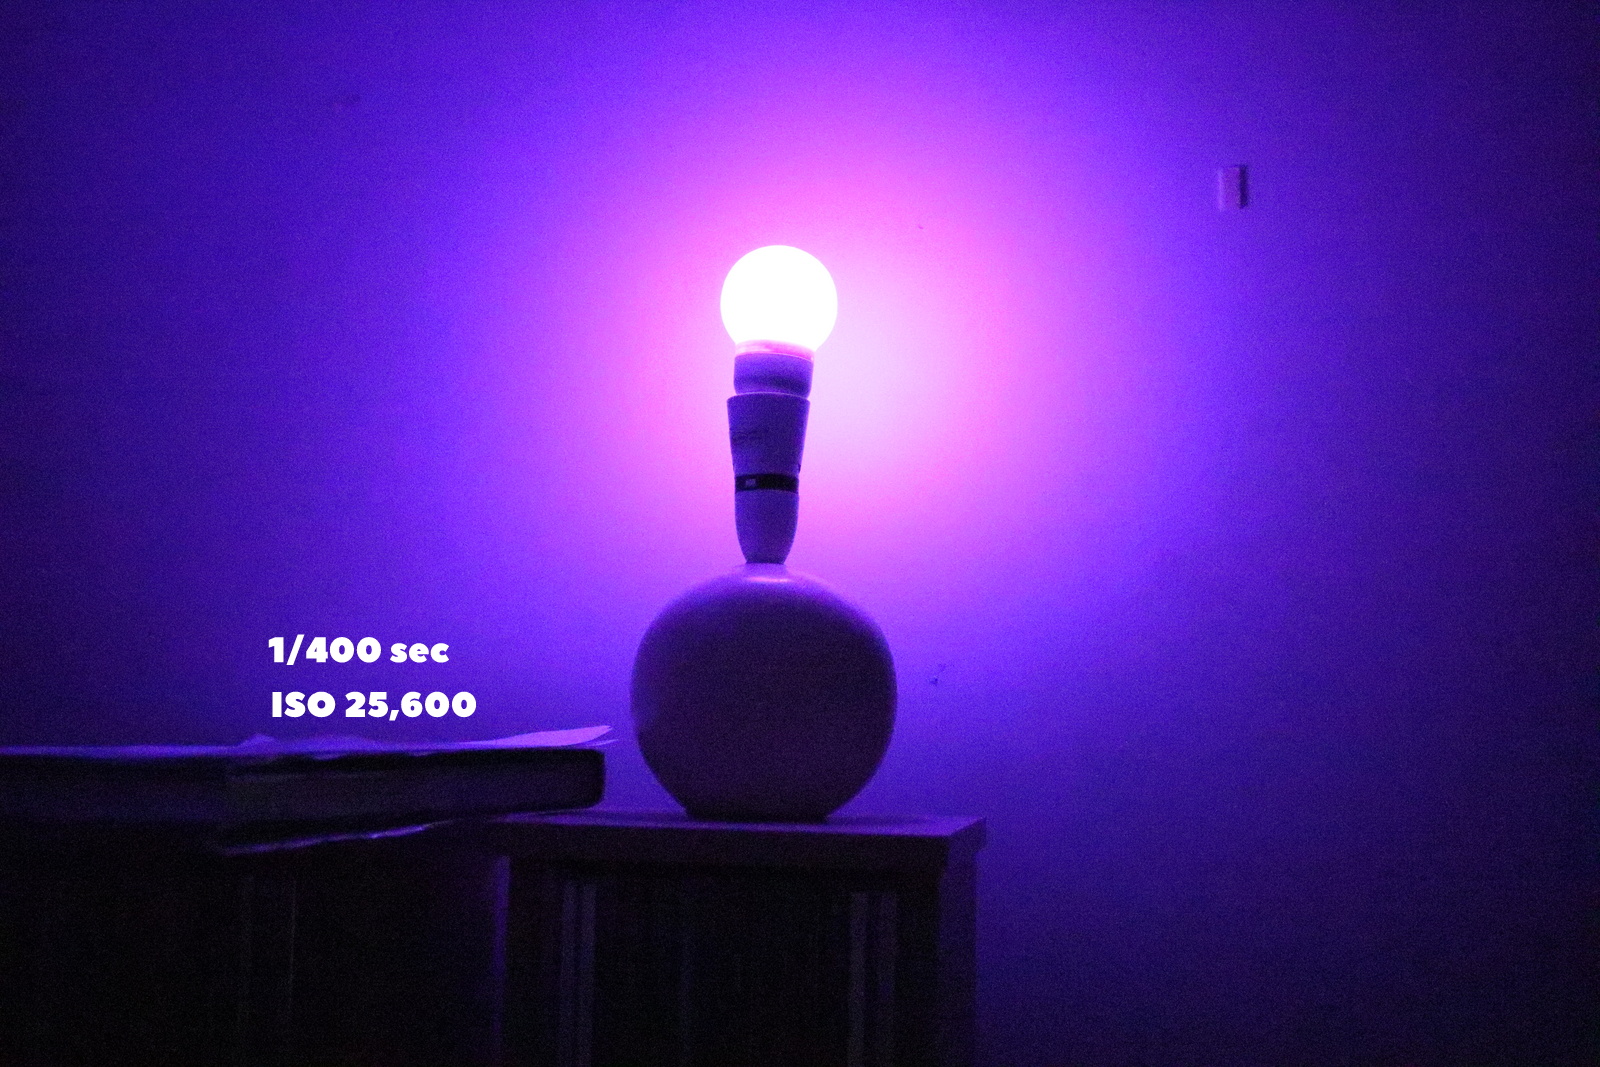
I've tested the ISO abilities of the Canon M5 here with 4 identical shots in low light, as you can see the camera performed exceptionally well at ISO 1000 with a very clean image and no noticeable noise. At ISO 4000 the noise has started to creep in, but it is still at a useable level and won't destroy a perfect moment, when I got to ISO 10,000 the noise is clearly visible and thus won't be useful for any professional photography, but it will get you the photo you need (if you need it).
Surprisingly the level of noise at 25,600 doesn't seem to be that much different from 10,000, meaning you will be able to get a very dimly lit shot and not have to sacrifice having the image destroyed by noise, this is all likely due to the M5 running Canon's latest image processor the Digic 7 which is supposedly 16x faster than the Digic 6 and has much better noise reduction abilities.
All in all I would be very happy to recommend this camera to anyone who is an avid photographer looking to upgrade from mid-range cameras, this is Canon's flagship Mirrorless camera (as of 2018) and it does an incredible job for its size!
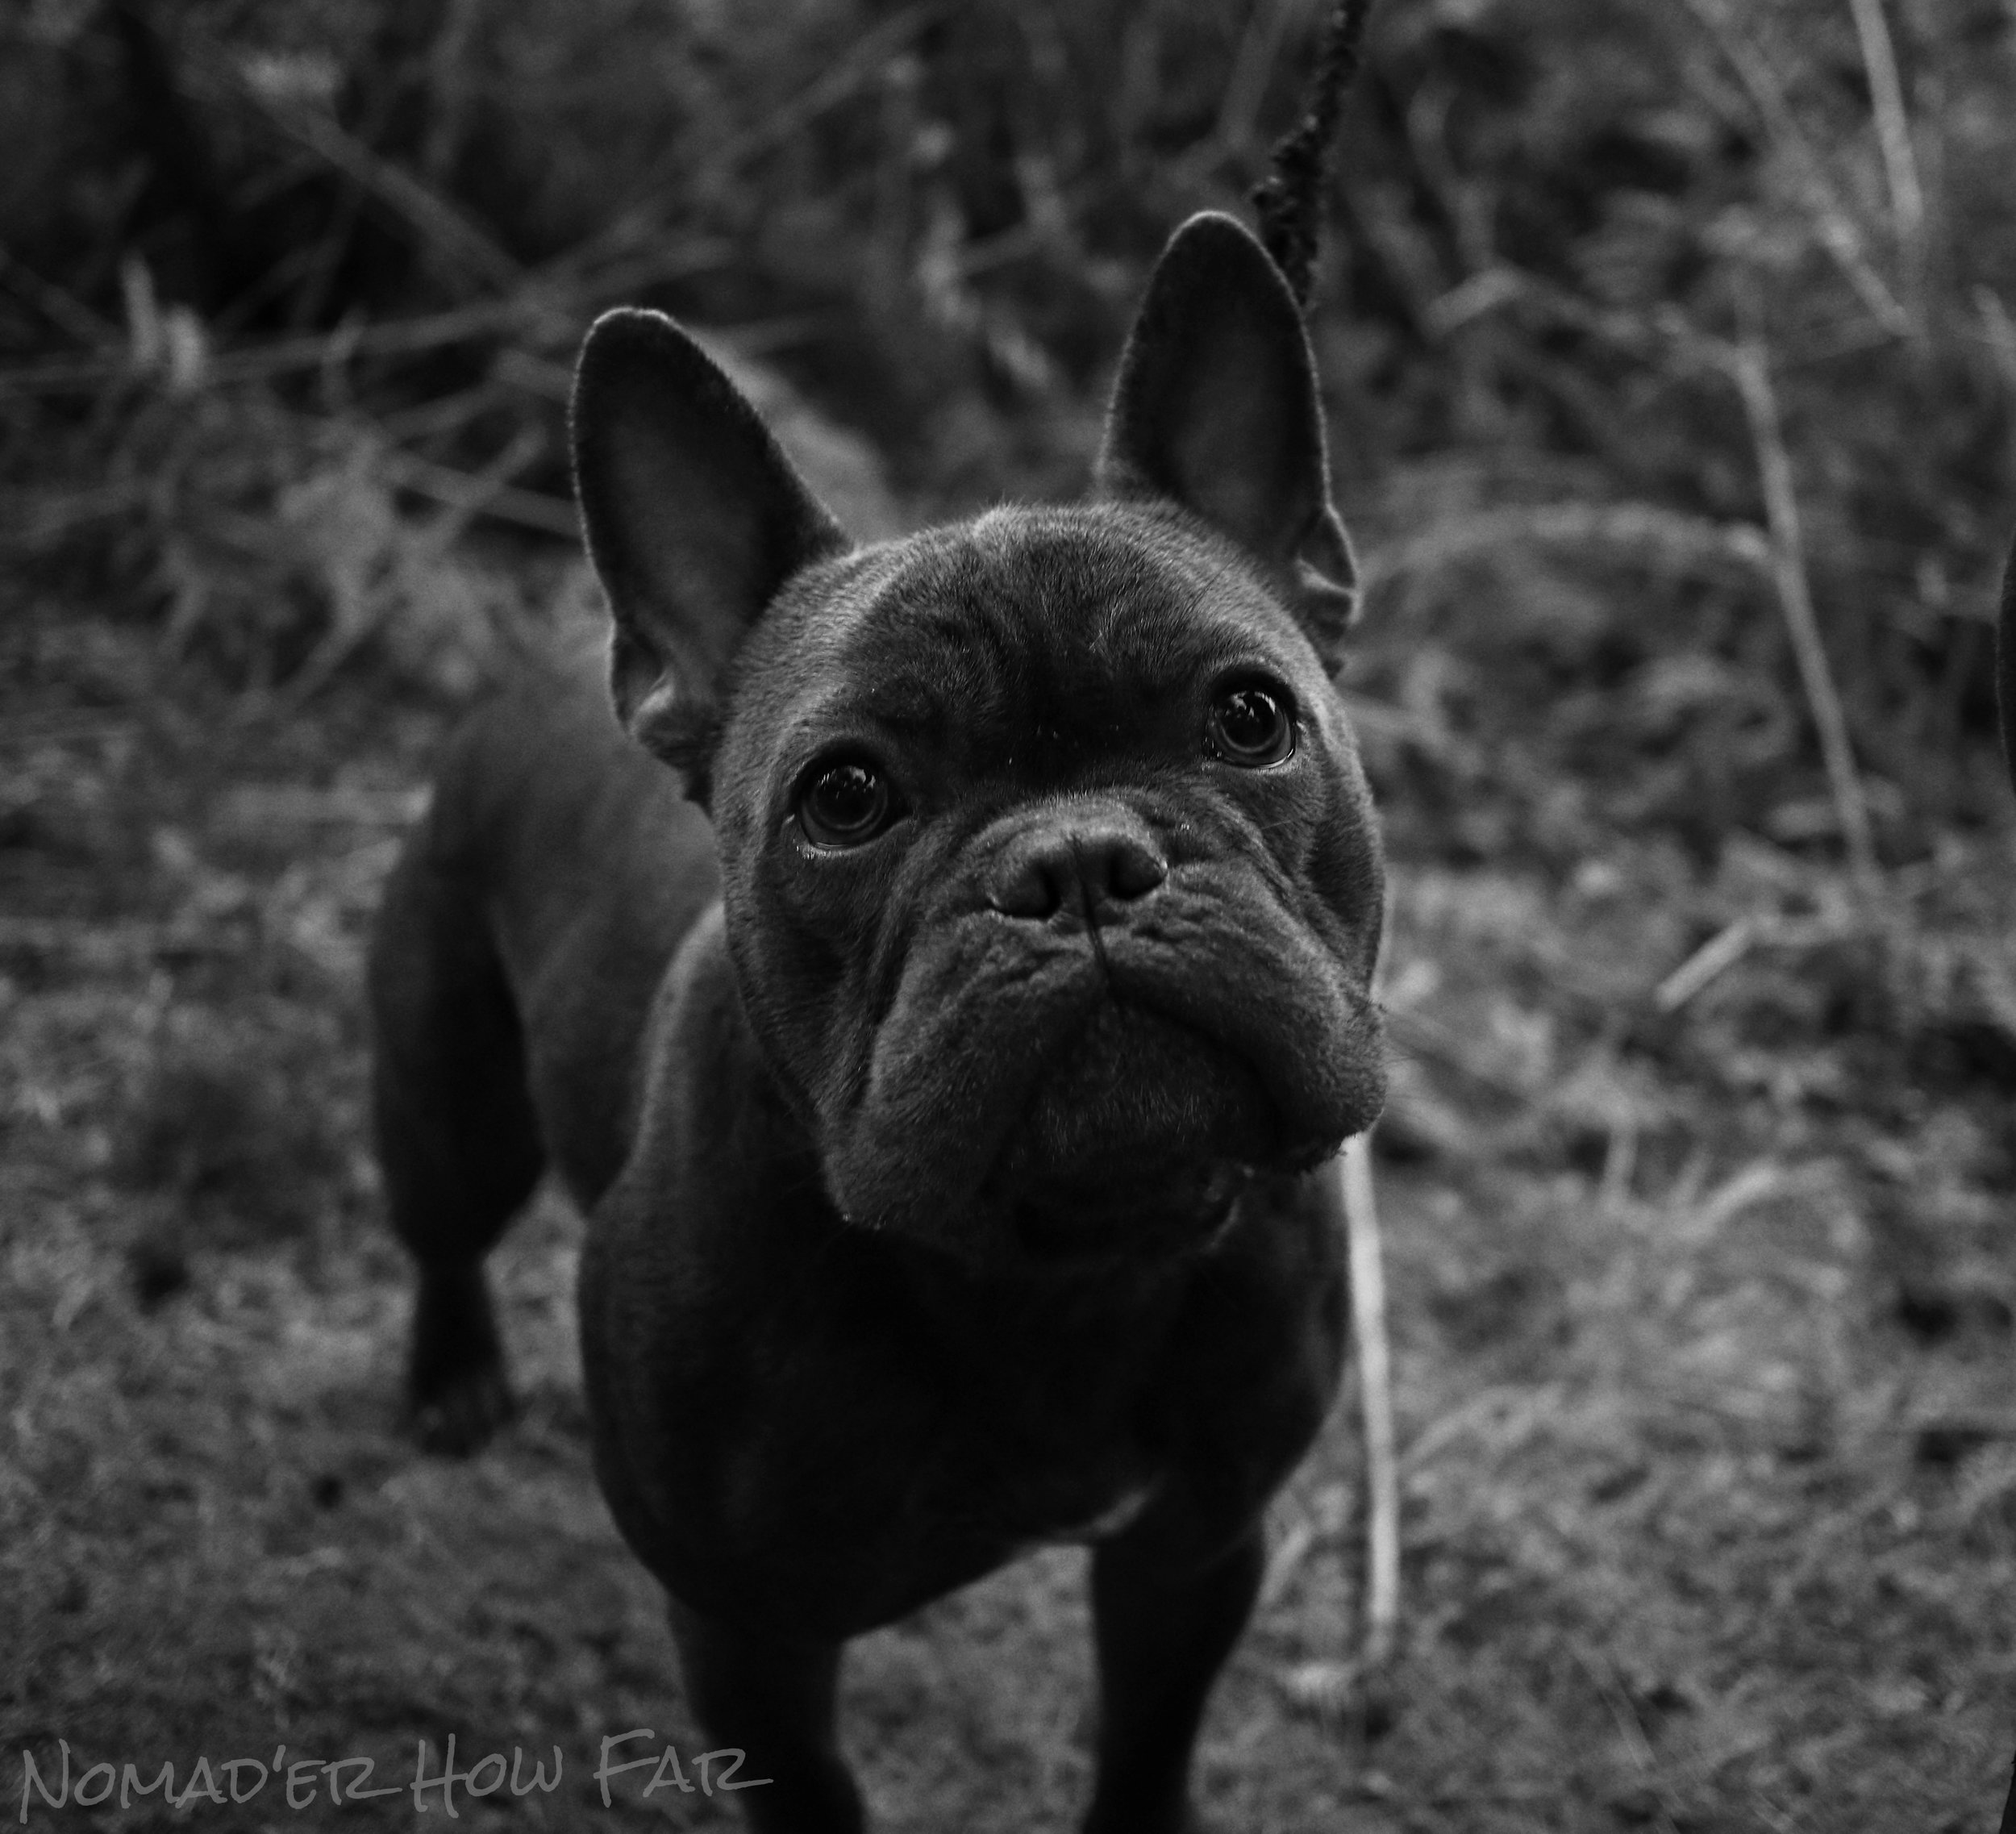
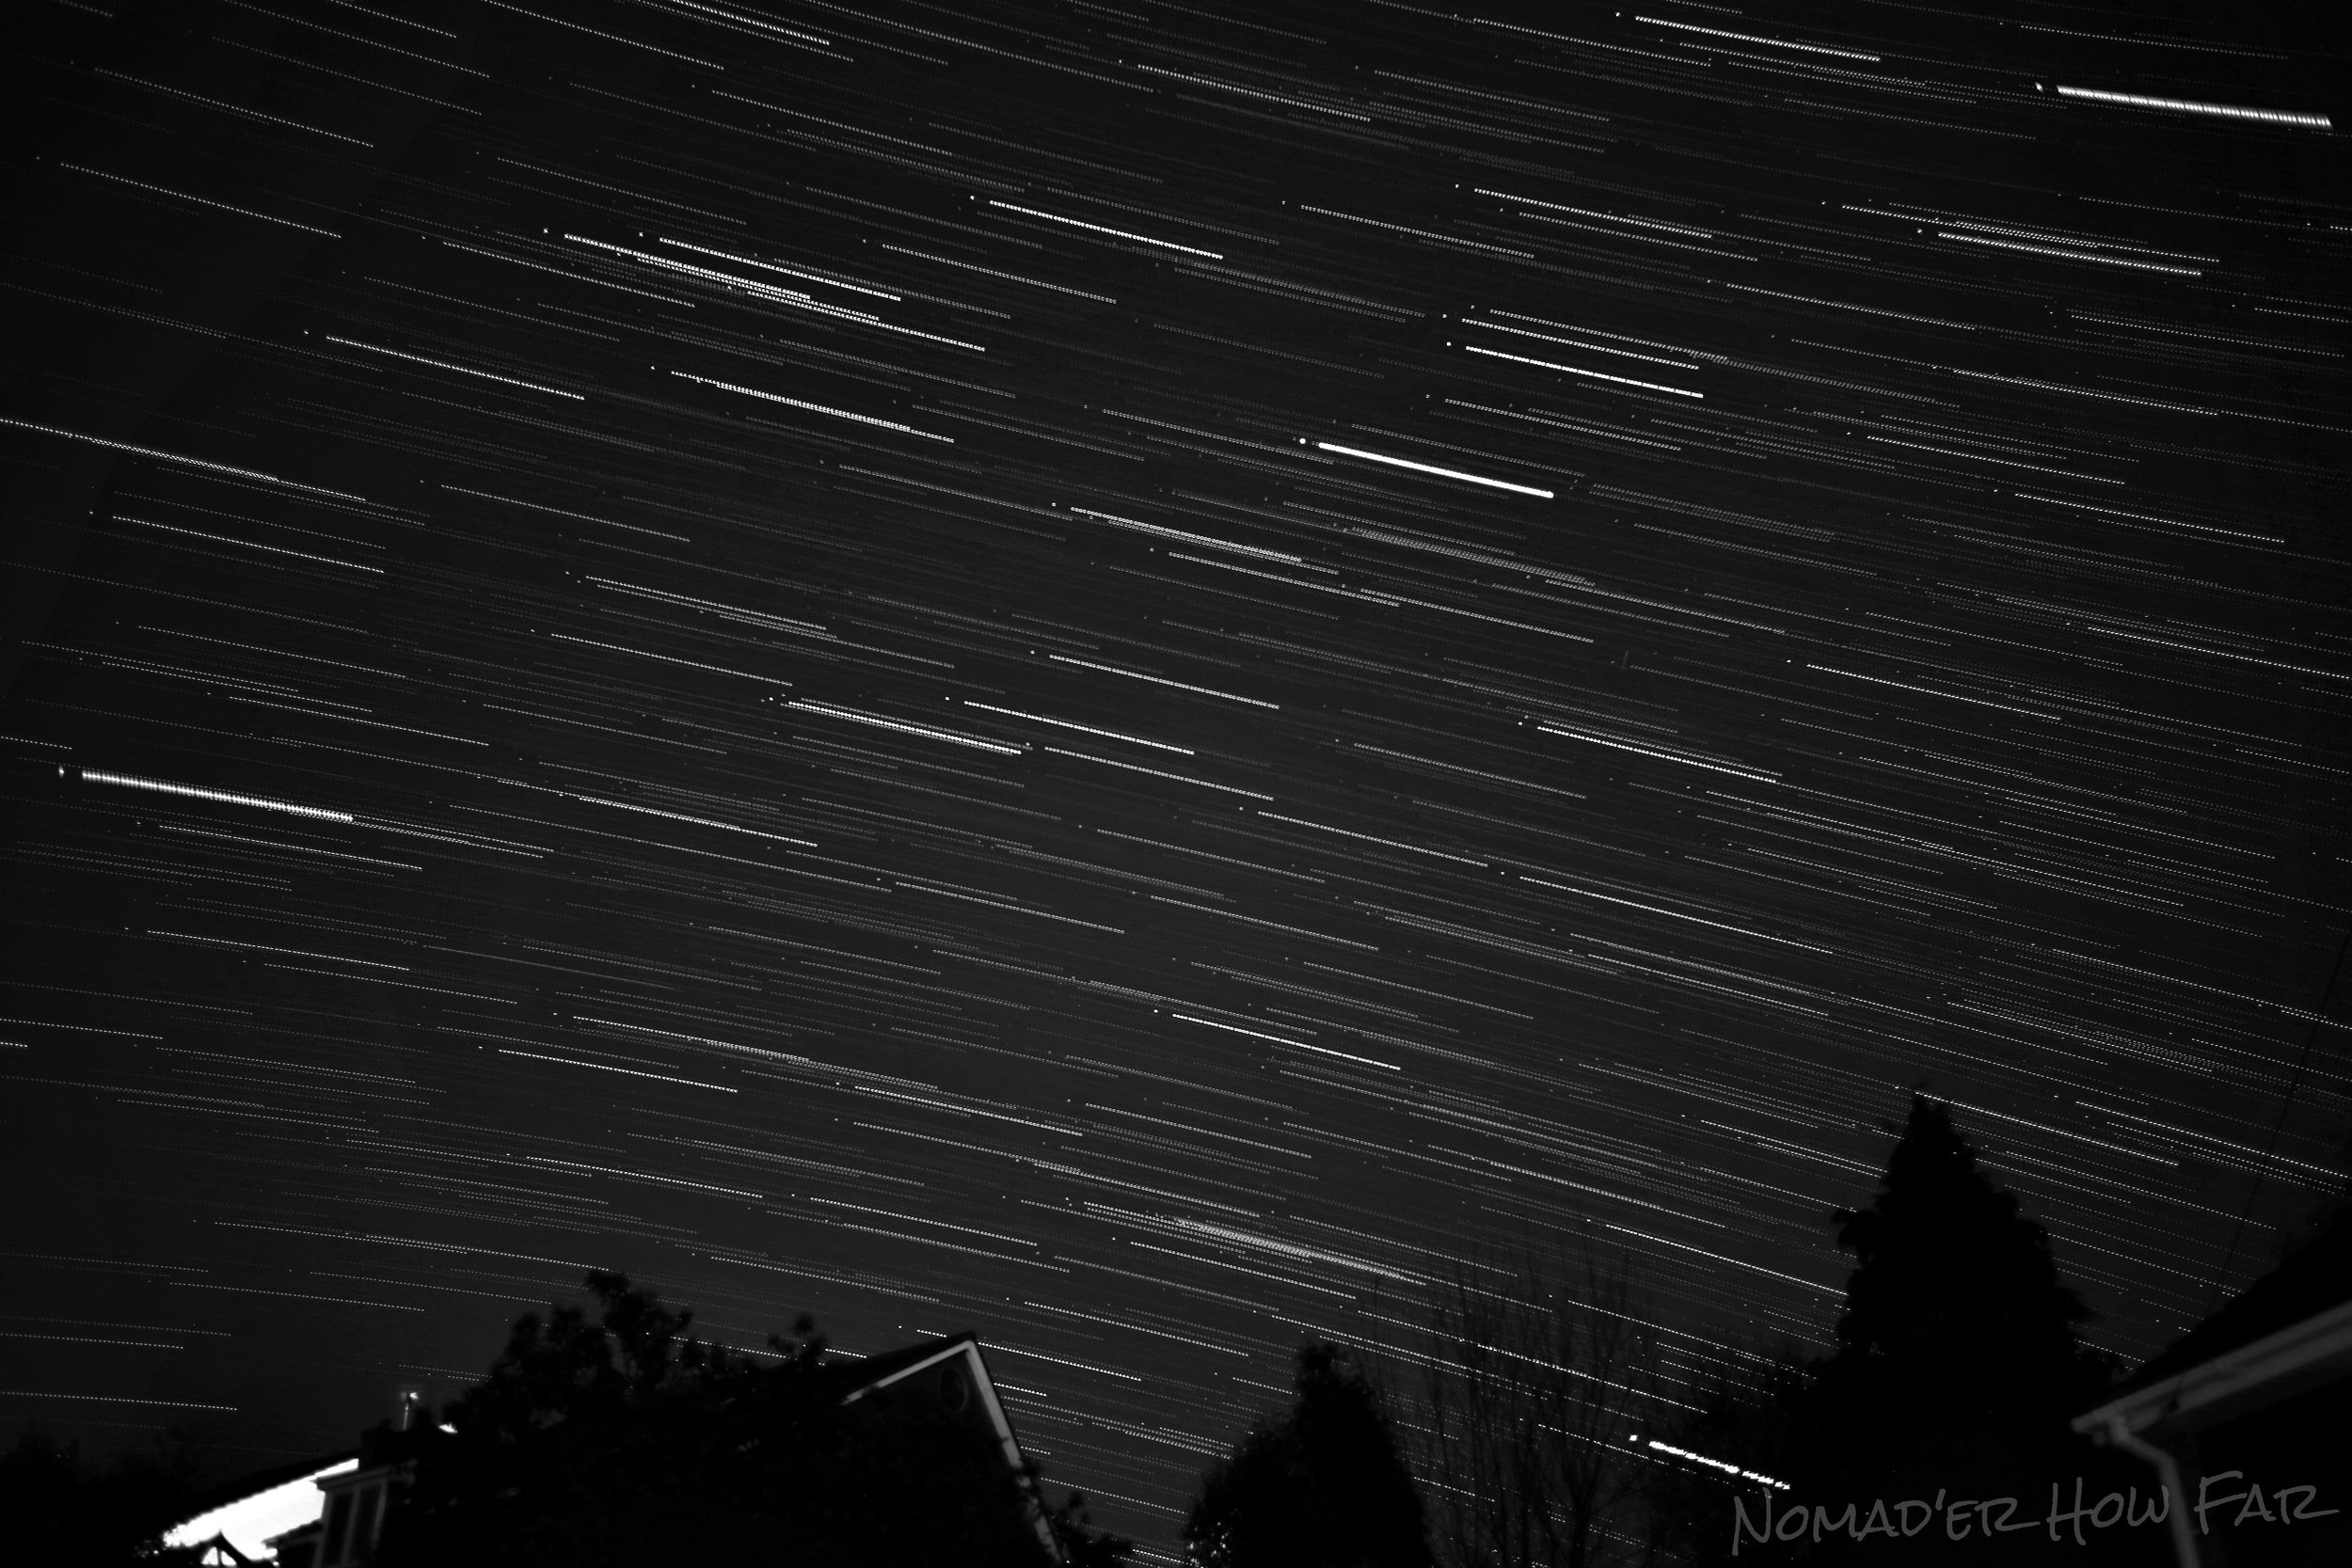
If you are a videographer then this probably won't satisfy your needs and vlogging is also not a strong point, but when it comes to landscapes and long exposure photography this camera stands out from the crowd. Below are some sample images taken with the M5:
If you're interested in checking out some of my photography that is available on canvas, click here! I am eternally grateful to anyone who thinks my work is good enough to hang on a wall.. ✌
Thanks for reading!
Taran here, owner of Nomad'er How Far. I'm fond of psychedelic rock, photography & videography, anything to do with space and I'm also partial to the odd gaming session. Oh and I love to travel :P Get to know me here!
Be social and come follow me across the virtual world!
Related Articles:
How To Capture Epic Photographs
Want to learn how to use the MANUAL mode on a camera and take amazing photographs? This masterclass will teach you how...
How To Capture Epic Photographs
Since setting out on our adventure we have witnessed some wonderful sights, sights that just cried out to be snapped! We travelled for 7 months just taking photos on our GoPro and phones.. But then we forked out and bought ourselves a Canon G16. Its a fairly mid range camera with no external lens, but we did our research and the picture quality this camera can give really speaks for itself:
This was a truly beautiful moment for us, waking up at sunrise and meeting kangaroos on a beach in Australia. And the new camera certainly proved its worth! "But how did you get such a picture" You may ask.. For the above photo I set a ISO-80 and f/2.8 and then chose a fairly quick shutter speed of 1/320.
Okay so some of you may have absolutely no idea what I'm talking about.. These are the things your camera will take care of when you have it set to AUTO mode, and while this will work most of the time, you will find that you can create photographs that are way more epic on MANUAL mode. Okay so lets take a quick course on the values and what they mean, and trust me, they aren't that scary when you get your head around them :P Lets start with the thing that took me the longest to figure out..
The F-Stop Value
The f-stop value refers to the size of the cameras pupil, in many senses it works the same way your eyes pupil does. A low value of f/1.8 will mean that the pupil opens up wide and lets in the most light, and you guessed it.. a high value of say f/8 will reduce the pupils size and let in less light. Below is a little graphic to help you understand:
But this is not the only thing affected by the value.. Low value f numbers will have a lower depth of field, meaning you can take those close up pictures with blurred backgrounds. Similarly high f numbers will produce an image that will have close and distant objects in focus.
So to summarise:
LOW F VALUE (f/1.8 or similar) = MORE LIGHT + MORE BLUR
HIGH F VALUE (f/8 or similar) = LESS LIGHT + LESS BLUR
The ISO Value
ISO numbers are basically a measure of how sensitive the camera is to light, low ISO numbers mean the camera will be less sensitive and high numbers make it more sensitive. This can be very handy when taking pictures at night or inside as it will allow you to keep a fast enough shutter speed to stop there being any blur.
But this added sensitivity comes with a drawback, the higher you set the ISO the less quality you will get in your pictures, generally when taking photos outside you will want to keep the ISO as low as possible as there should be enough natural light to keep the camera happy :] Here is a comparison of two photos but to be fair the low ISO side came out brighter just because the sun was shining straight through the window...
To summarise:
LOW ISO VALUE (ISO-80 or similar) = LESS LIGHT + MORE QUALITY
HIGH ISO VALUE (ISO-3200 or similar) = MORE LIGHT + LESS QUALITY
Like what you're reading?
Sign up to our newsletter for more great tips!
And Finally, Shutter Speed
Okay, so finally we have shutter speed, I've saved the easiest till last. Shutter speed refers to how long you want to open the shutter for when you press the capture button. Opening the shutter for a very short amount of time will let in only a tiny amount of light so you will need to turn up the ISO, but you will be able to capture shots of fast moving objects without blur. Our Canon G16's quickest capture setting is 1/4000 of a second.. which is kind of ridiculous for most photography unless maybe your trying to capture a speeding bullet or something :P
On the other hand opening the shutter for longer will (you guessed it!) allow more light in. This can be very handy if you taking pictures in a dark room or at night, but you will need a tripod to keep your camera very still or the image will be blurry. This photo below was taken with the shutter open for 30 seconds in a area of low light pollution:
And so to summarise:
LOW SHUTTER SPEED (1/400 or similar) = LESS LIGHT + MOVING OBJECTS WONT BLUR
HIGH SHUTTER SPEED (30 seconds or similar) = MORE LIGHT + MOVING OBJECTS WILL BLUR
Now lets move onto the less technical skills, starting with: Focus
Sometimes there will be something that just stands out to you in the foreground of a scene, the best way to bring attention to it is to shift the focus to it! If you get a little bit further away from the object and then zoom on it you can get a good balance on the background being blurred.
Framing And Foreground Objects
A natural frame for your picture can draw your viewers eye to what you wanted them to see in the picture, as you can see above I have used part of a tree as a frame here and it doesn't overpower the image. Also the addition of a figure in the water completes a triangle of interest between the big leaf, the sun breaking through the clouds and the figure, this keeps the viewer looking for longer.
Combining Those Skills!
The above photograph was taken just after a sunset at the waters edge, I set the f value to f/8 so that the clouds and the tree where in focus. The ISO value was turned all the way down to ISO-80 to let in the least amount of light, as I was aiming at the area that the sun was still lighting up. I then let the shutter open for 15 seconds, which was needed to let some light in with the other settings, but it also gave the water an awesome effect that makes it look like mist!
Experiment!
Capturing lightning can be a tiresome thing to do.. It includes a lot of waiting around and hoping you have the camera pointing in the right direction! The picture above was taken on our GoPro silver, this was good because the wide angle lens makes it much easier to get a whole lightning bolt in the frame.
I found the easiest method was to set up the camera with the lowest settings possible on the GoPro, ISO-100 and that's all you get to change haha! Then mount it on a tripod, point it in the general direction of the lightning and turn on the time-lapse mode with the shutter speed set to 20 seconds. This way you don't have to keep pressing the capture button, you can leave it doing its thing for 30 minutes and then take a look at the results!
The Milky Way
Photographing the stars is one of my favourite things to do! To capture something like this you will need to set up your camera on a tripod preferably, I then used the settings ISO-800, f/1.8 and took a 15 second exposure. You will probably want to open the photo up in an editing program to do a few touch ups to bring the colour out and adjust the contrast (this ain't cheating by the way, no one ever gets pro Milky Way shots straight off the camera).
The above photo was compiled on the camera! The Canon G16 has a feature which does all the technical stuff for you, And gives great star trail results :P But there are some great free applications out there that will basically do the same! StarTrails.de is one example.
Any Questions? Just Ask In The Comments..
Thanks for taking this short master-class! There are a few links to the cameras and tools I used to get these photos and if you click these to purchase anything, you will be helping to keep our site running at no extra cost to you :D
Now check out our first year of travel in 12 stunning photographs.
Thanks for reading!
Taran here, owner of Nomad'er How Far. I'm fond of psychedelic rock, photography & videography, anything to do with space and I'm also partial to the odd gaming session. Oh and I love to travel :P Get to know me here!
Read More:
Capturing Incredible Photographs On A Gopro - How To
The thing that has allowed us to share our adventure through some amazing pictures and videos is our beloved GoPro Hero 4 Silver.
Capturing Incredible Photographs On A Gopro - How To
The thing that has allowed me to share my adventure through some amazing pictures and videos is my beloved little GoPro Hero 4 silver.
That, and a tripod. I use a GorillaPod as it allows me to place the camera almost anywhere! It can be attached to the side of trees, placed on uneven rocks or even hold itself upside down if needed.
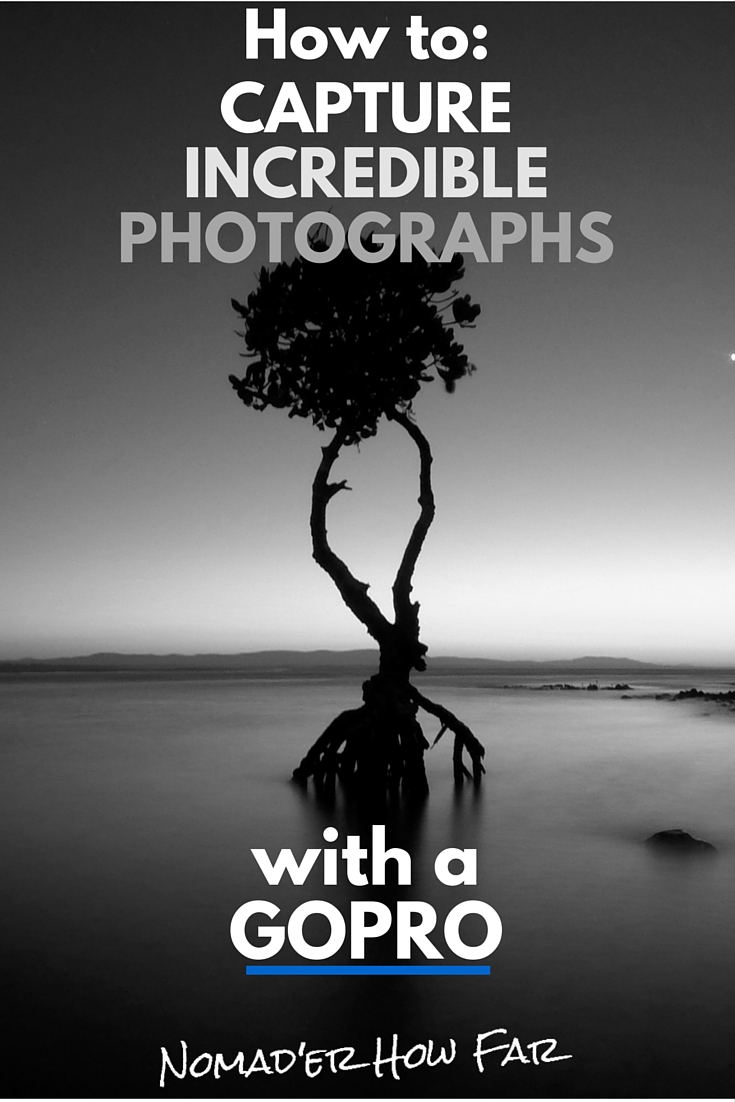
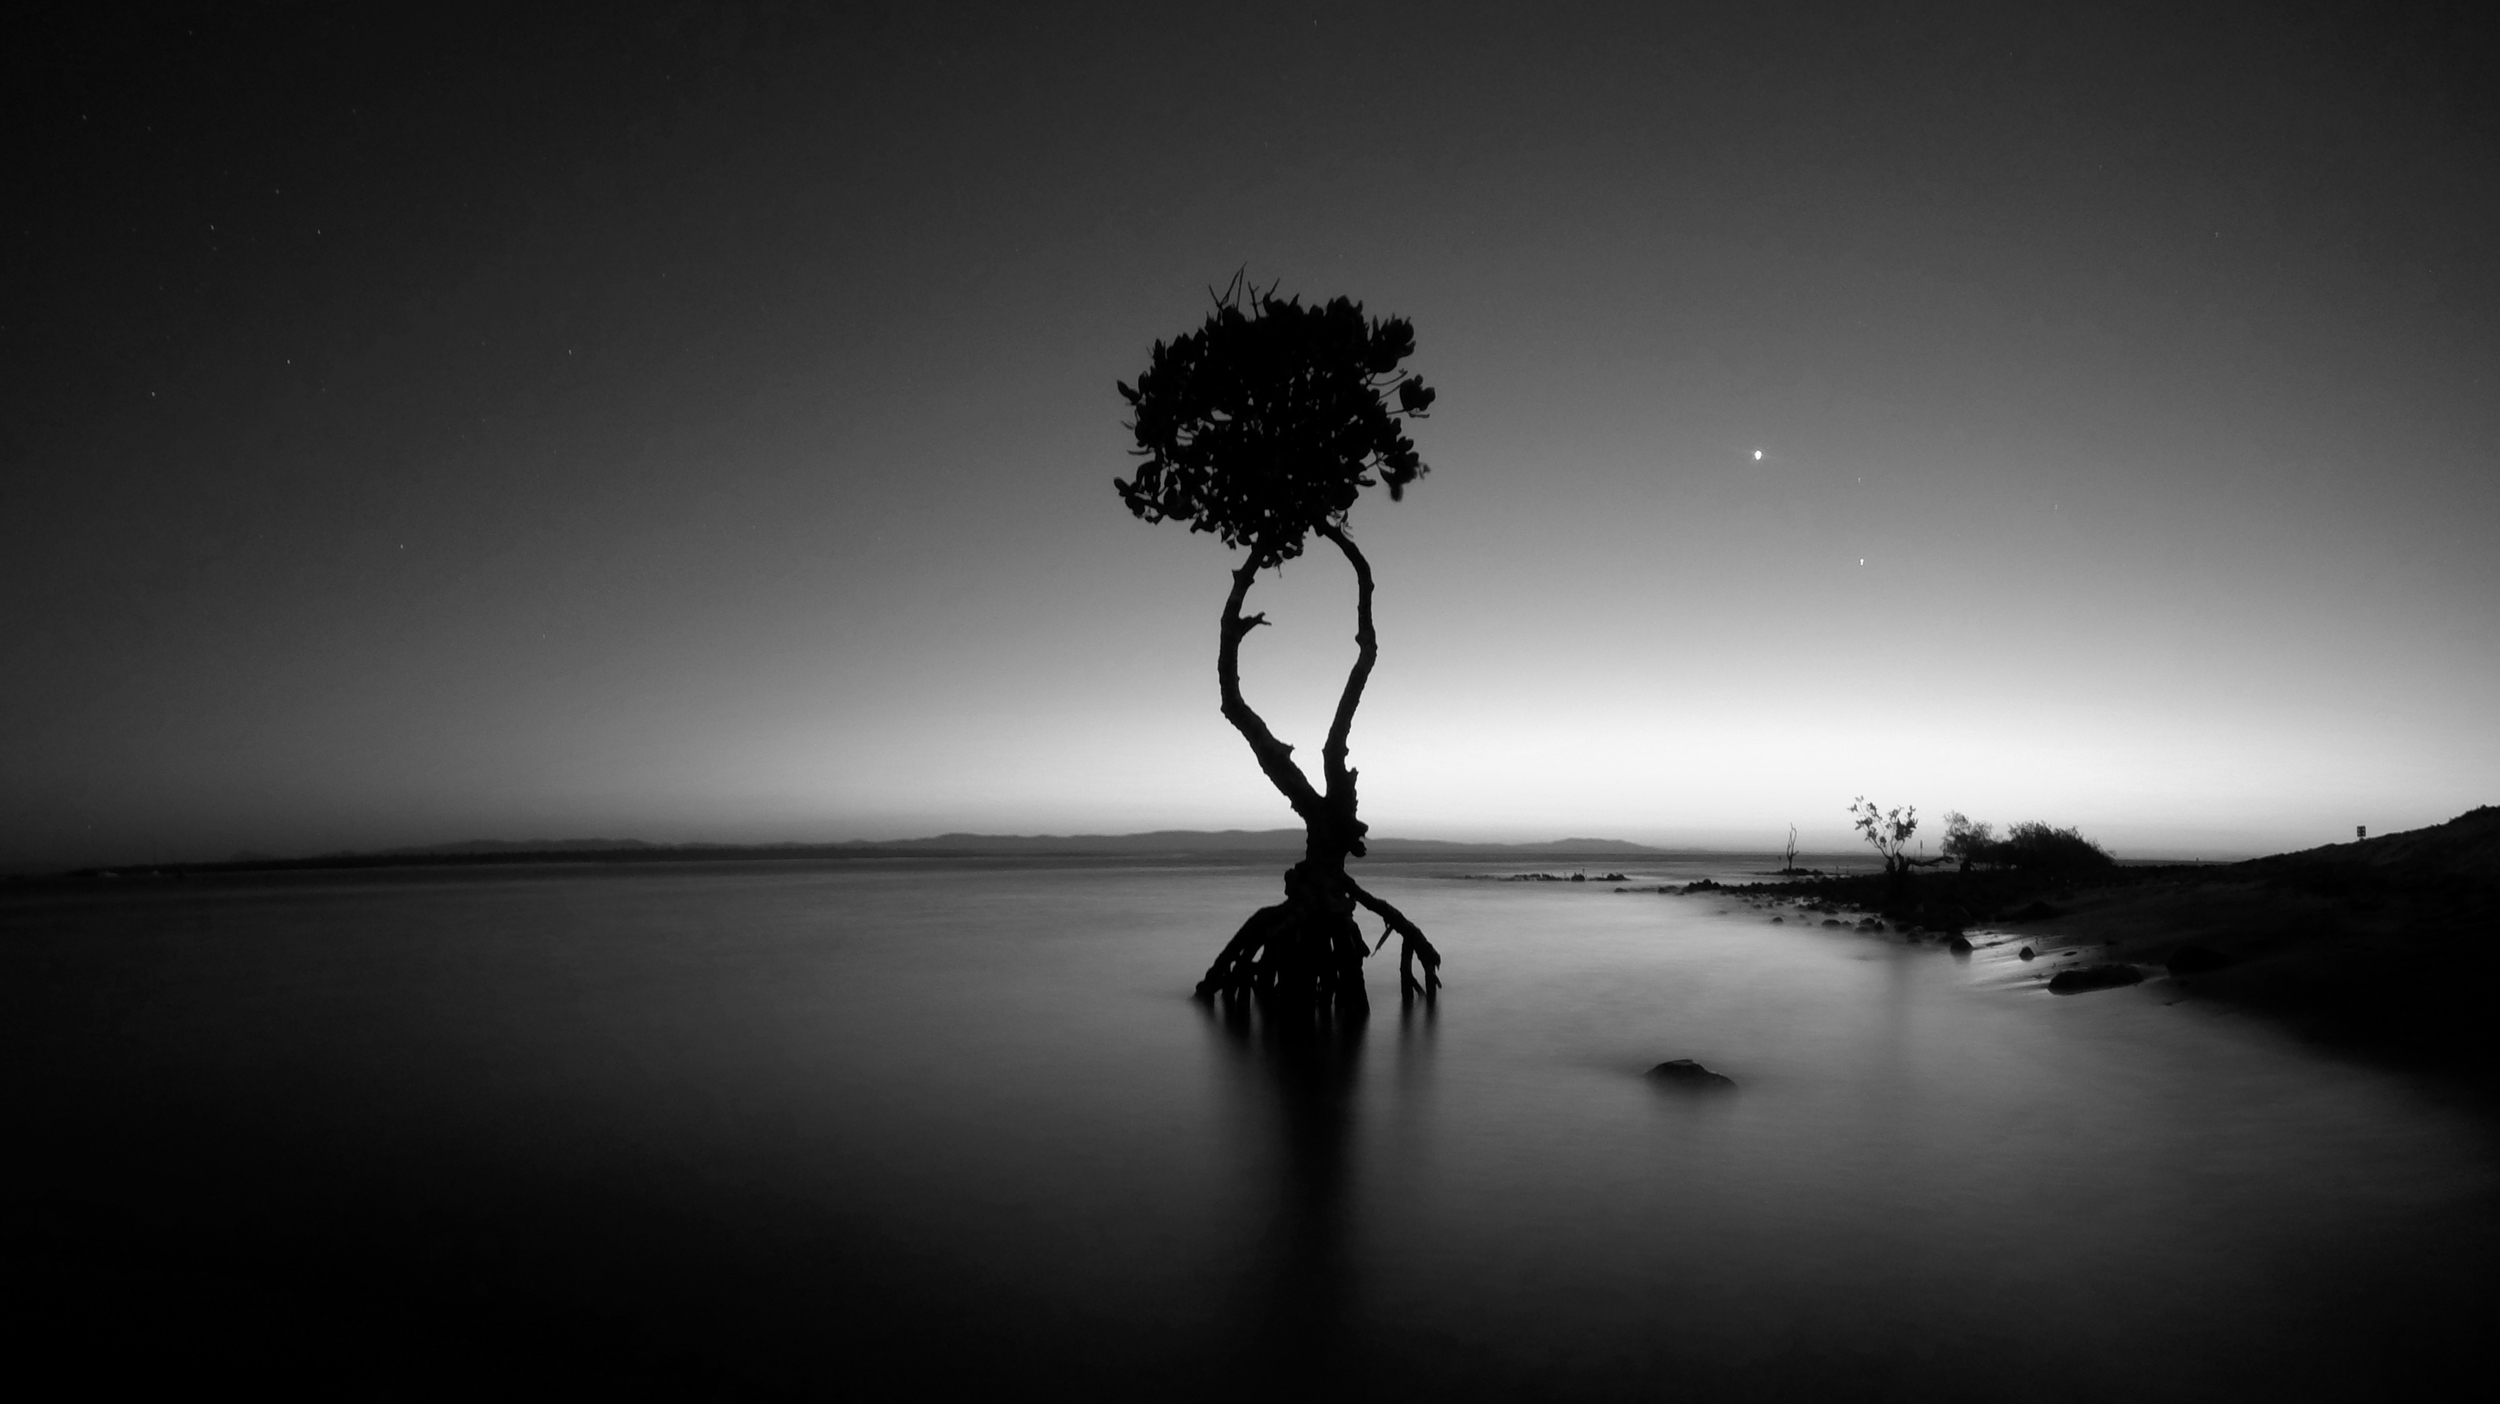
This photo was taken at a beach just after sunset down by the waters edge, using long exposure and low ISO settings.
A few things to understand for anyone who isn't sure:
- The ISO settings will allow you to control how sensitive your camera is to light. Basically the lower the number the less sensitive to light your camera is.
- The Exposure time will allow you to set how long your camera lets in light for, so for instance, photos of the stars and the Milky Way will need lots of light and normally require exposure times of around 30 seconds.
To take an awe-inspiring photo like our one above you will want to set your GoPro (or other suitable camera) on your mount at the water's edge and apply the following settings..
Exposure time: 30 seconds
ISO level: 100
White balance: Native
- You will only have a short window of time to take the pictures (about 10-15 mins) so make sure you are ready!
- Make sure you take a few pictures during the sunset while the light is fading. If the pictures come out too light just wait a few more minutes for it to get a tad darker.
- Import them onto your computer and apply a Black and White filter to add some impact and drama to your snaps!
When it comes to taking pictures of the Milky Way, things can be a little bit harder..
For starters you will need to be somewhere with low light pollution otherwise you will just pick up all the light from surrounding cities in your picture. LightPollutionMap is a great website that allows you to find areas with low light pollution, once you have found your spot and it's not a cloudy night, set your camera up on its tripod and use the following settings:
Exposure time: 30 seconds (or above if possible)
ISO level: 800
White balance: Native
- Point the GoPro in the direction of the Milky Way. It has a very wide field of view with its fisheye lens so there is little chance that you will miss things as long as you point the camera in the general direction!
- After importing to your computer you will want to play around with the photo for a while on a editing program, increasing the contrast and altering the saturation will bring out the colours of the milky way and really give it some omph!
- From what I have found the photo's come out better if you allow some foreground objects into the picture as well, a few trees will do the trick.
Ready for some more advanced tips? Check out this new updated article:
Wanna know how to take EPIC photographs?! Check out our short master-class :D https://t.co/hnrcpxCttB pic.twitter.com/GIUbpbpFX7
— Nomad'er How Far (@Nomaderhowfar) April 2, 2016
Now lets see what the video side of a GoPro can do! Here's what ours has seen while in Australia:
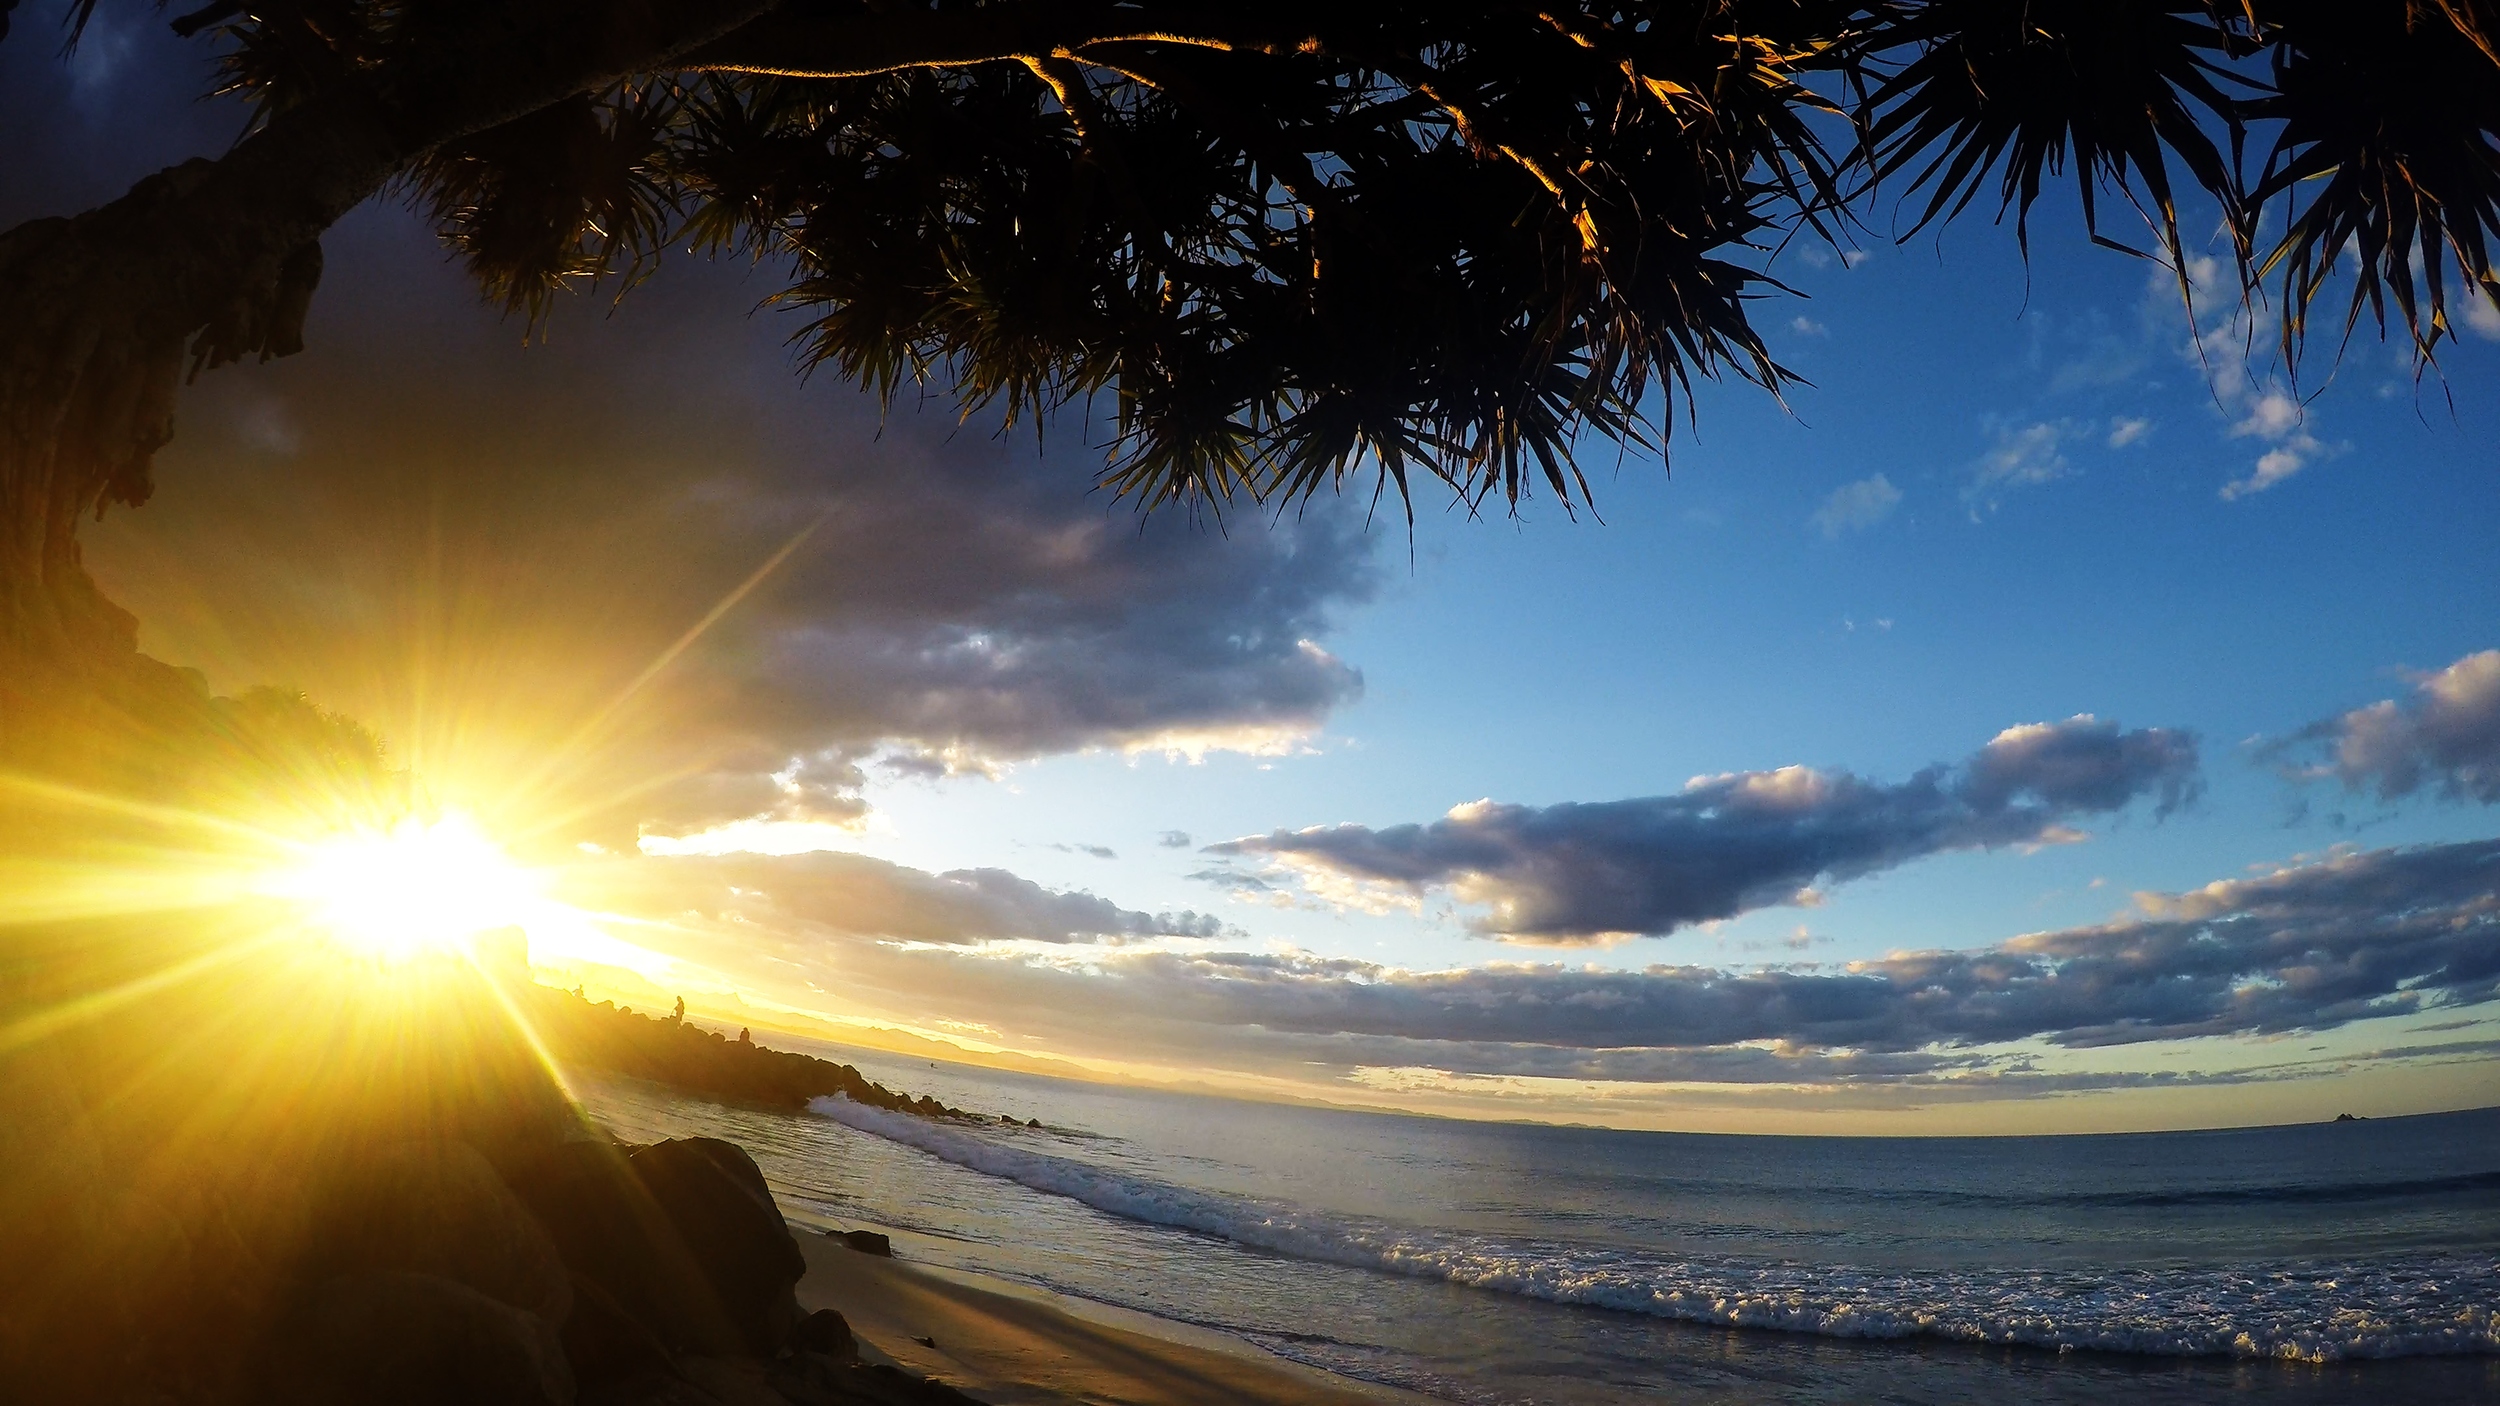
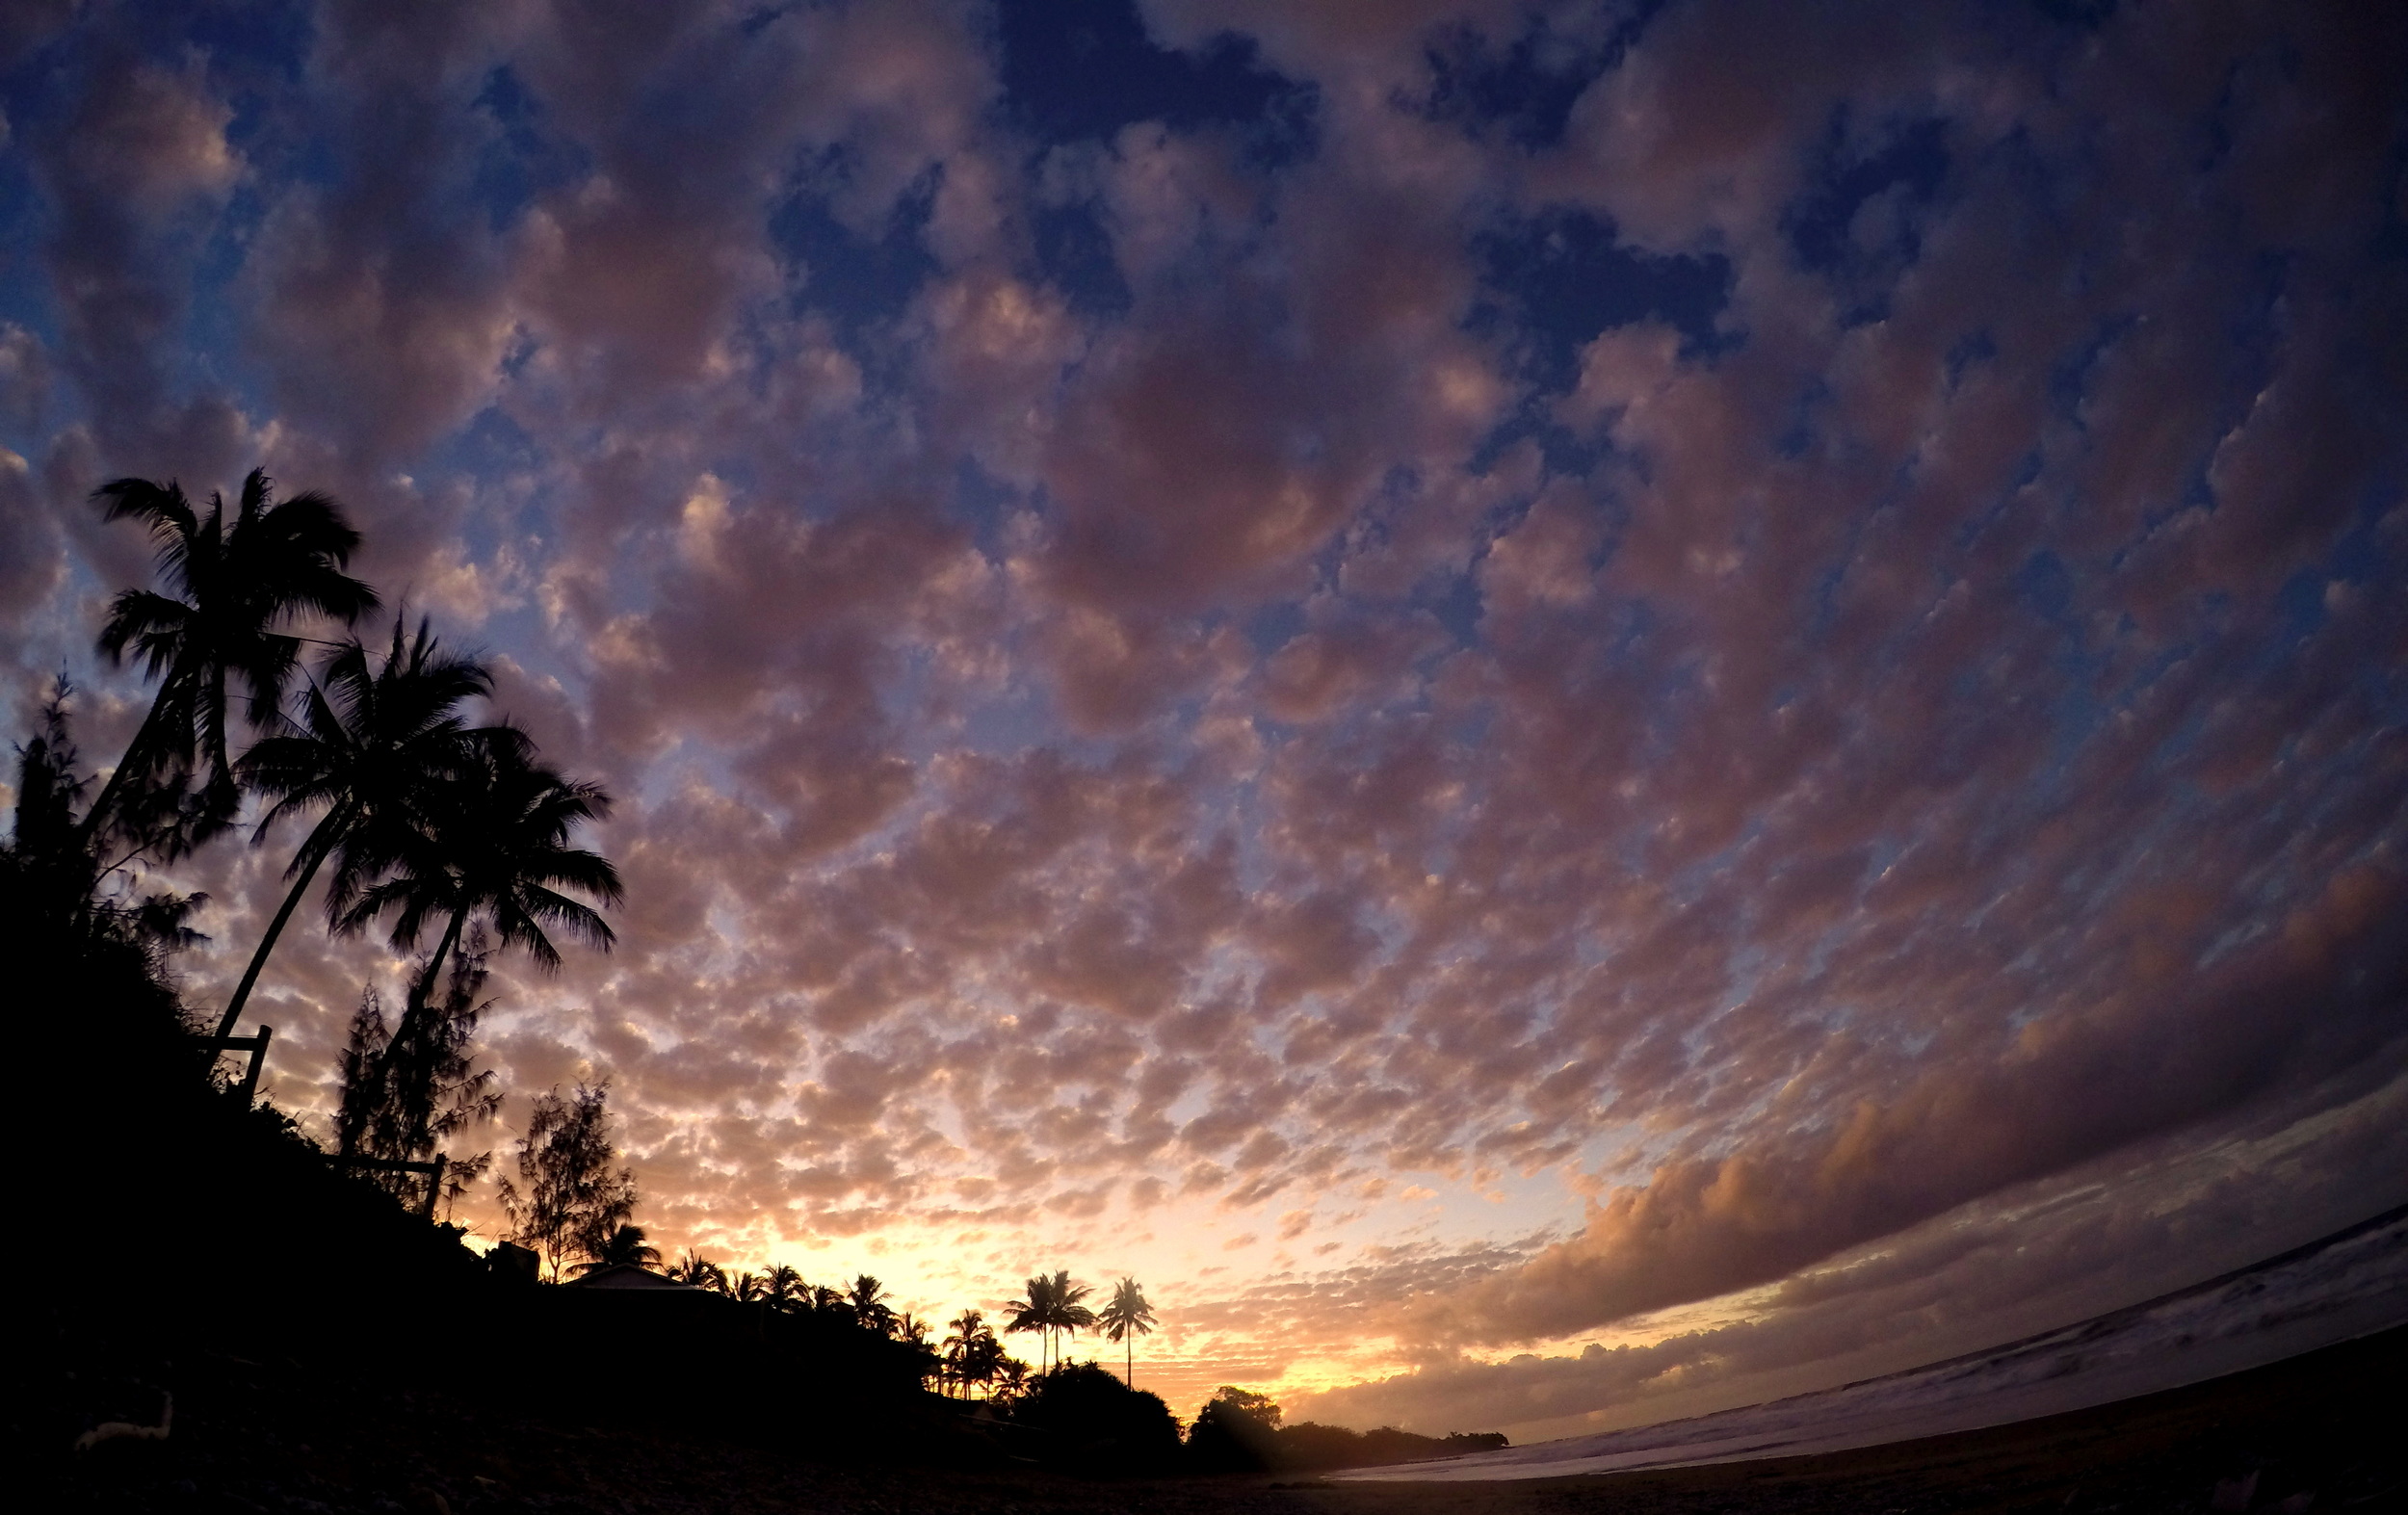
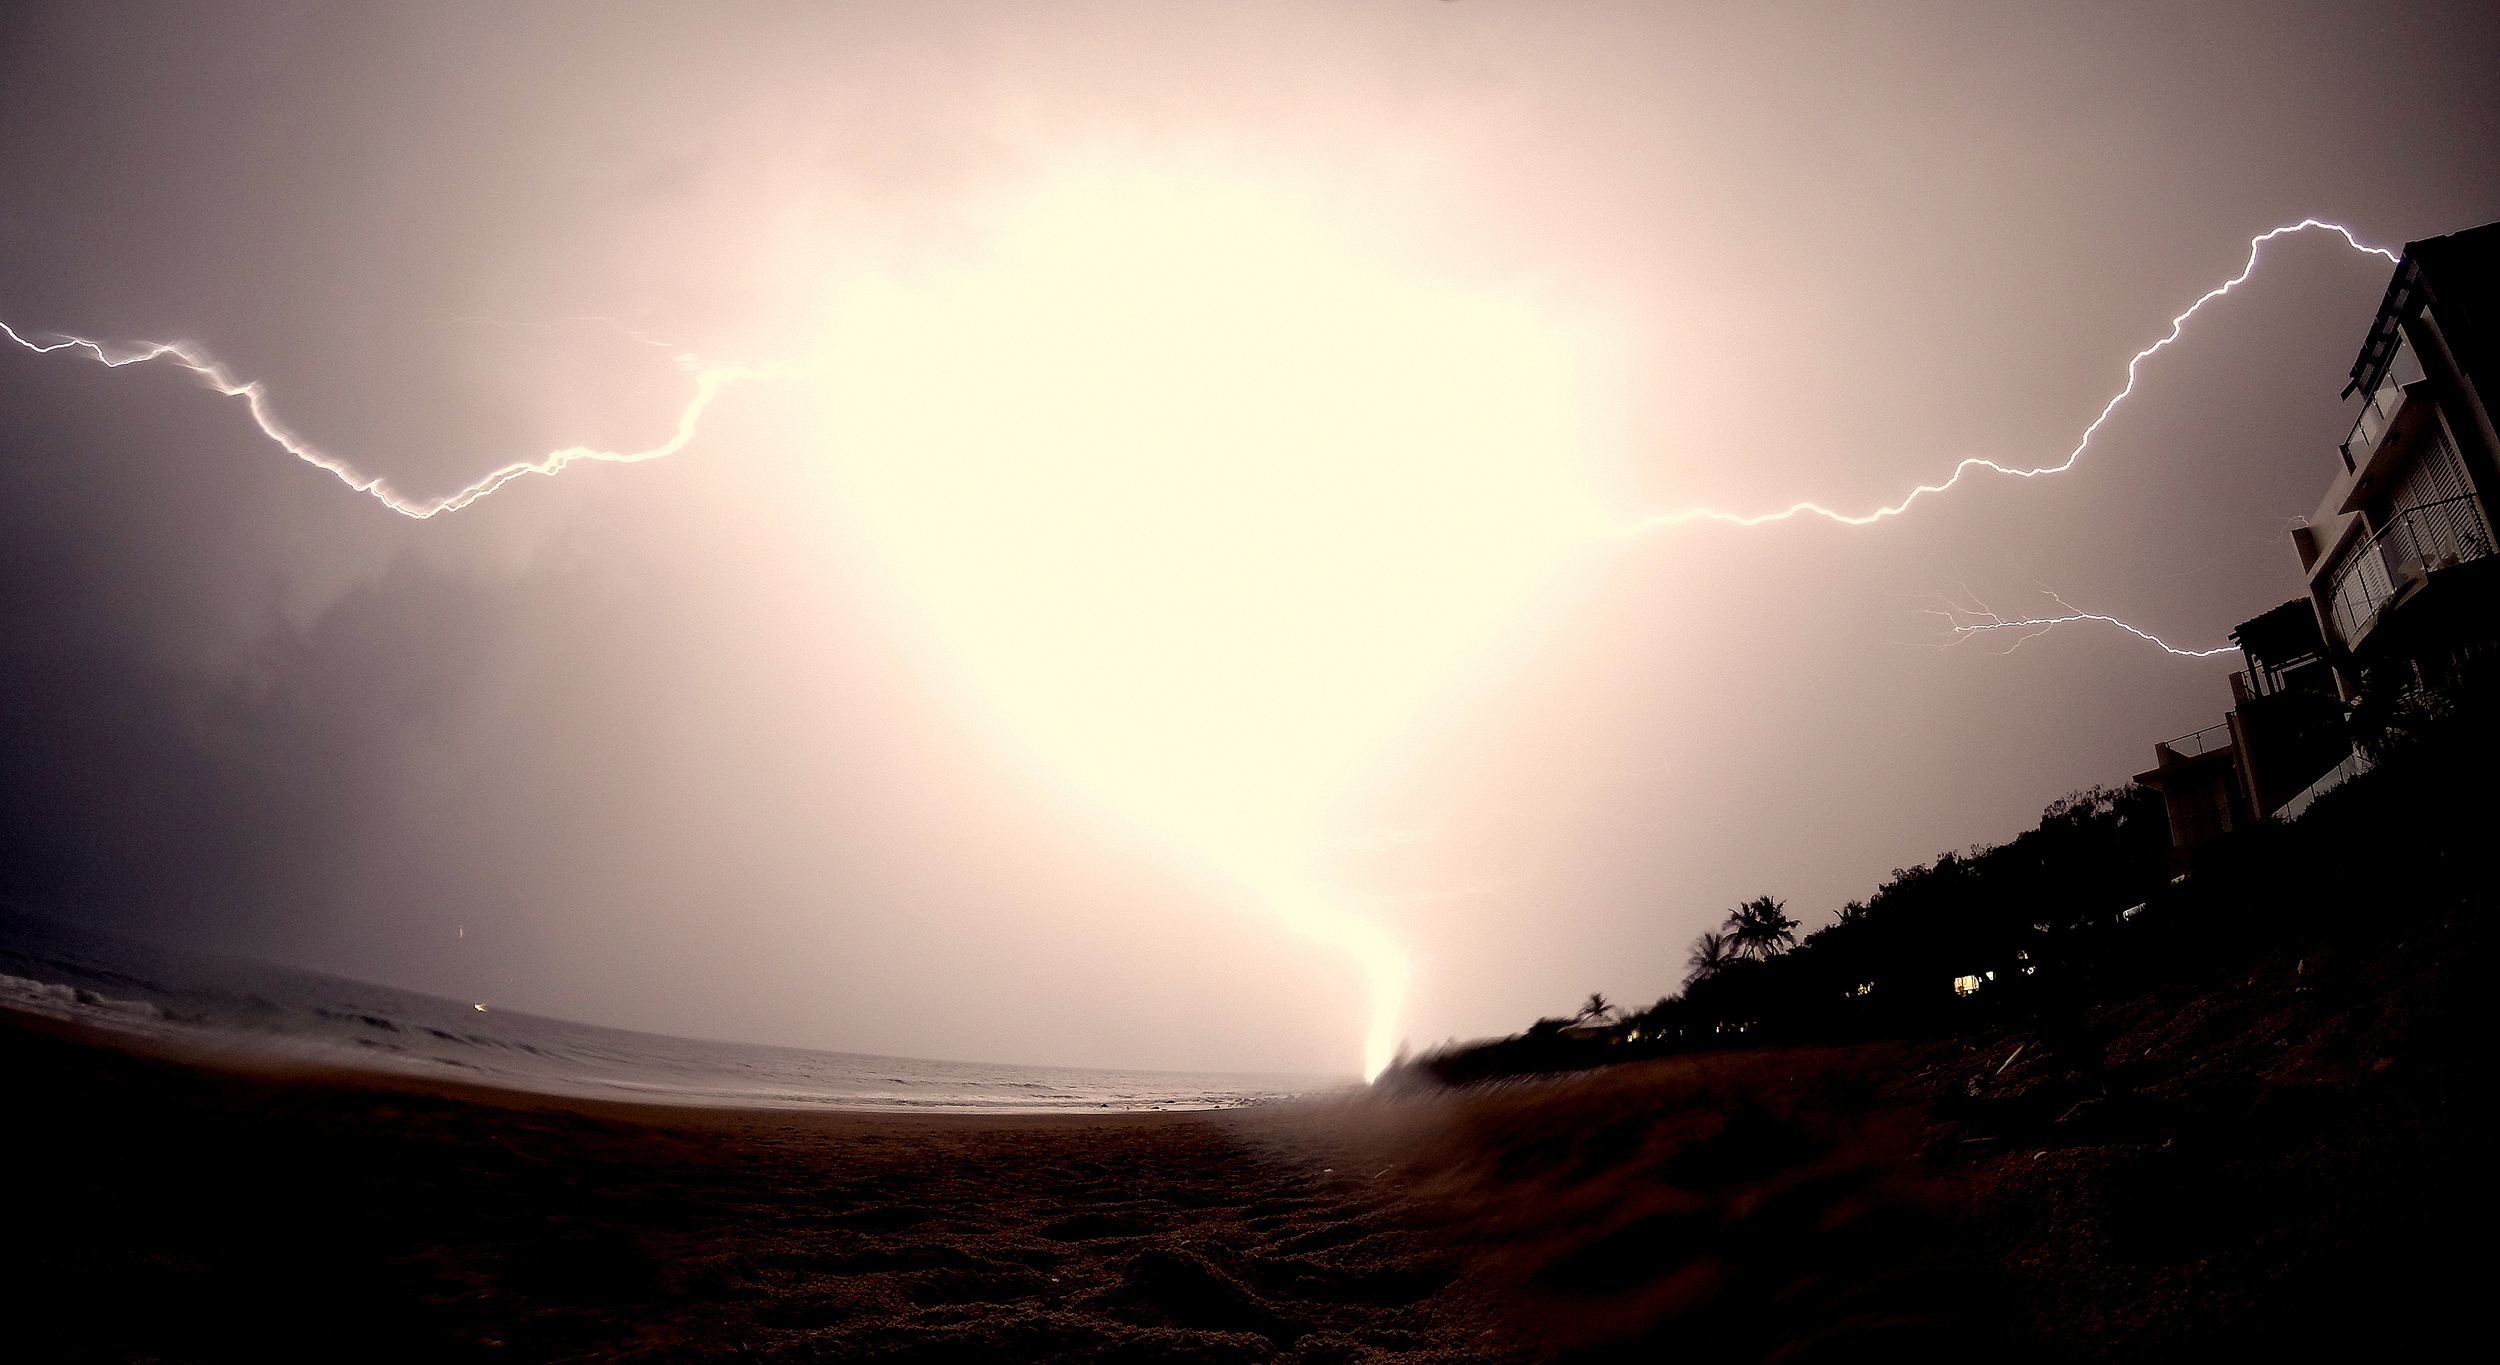
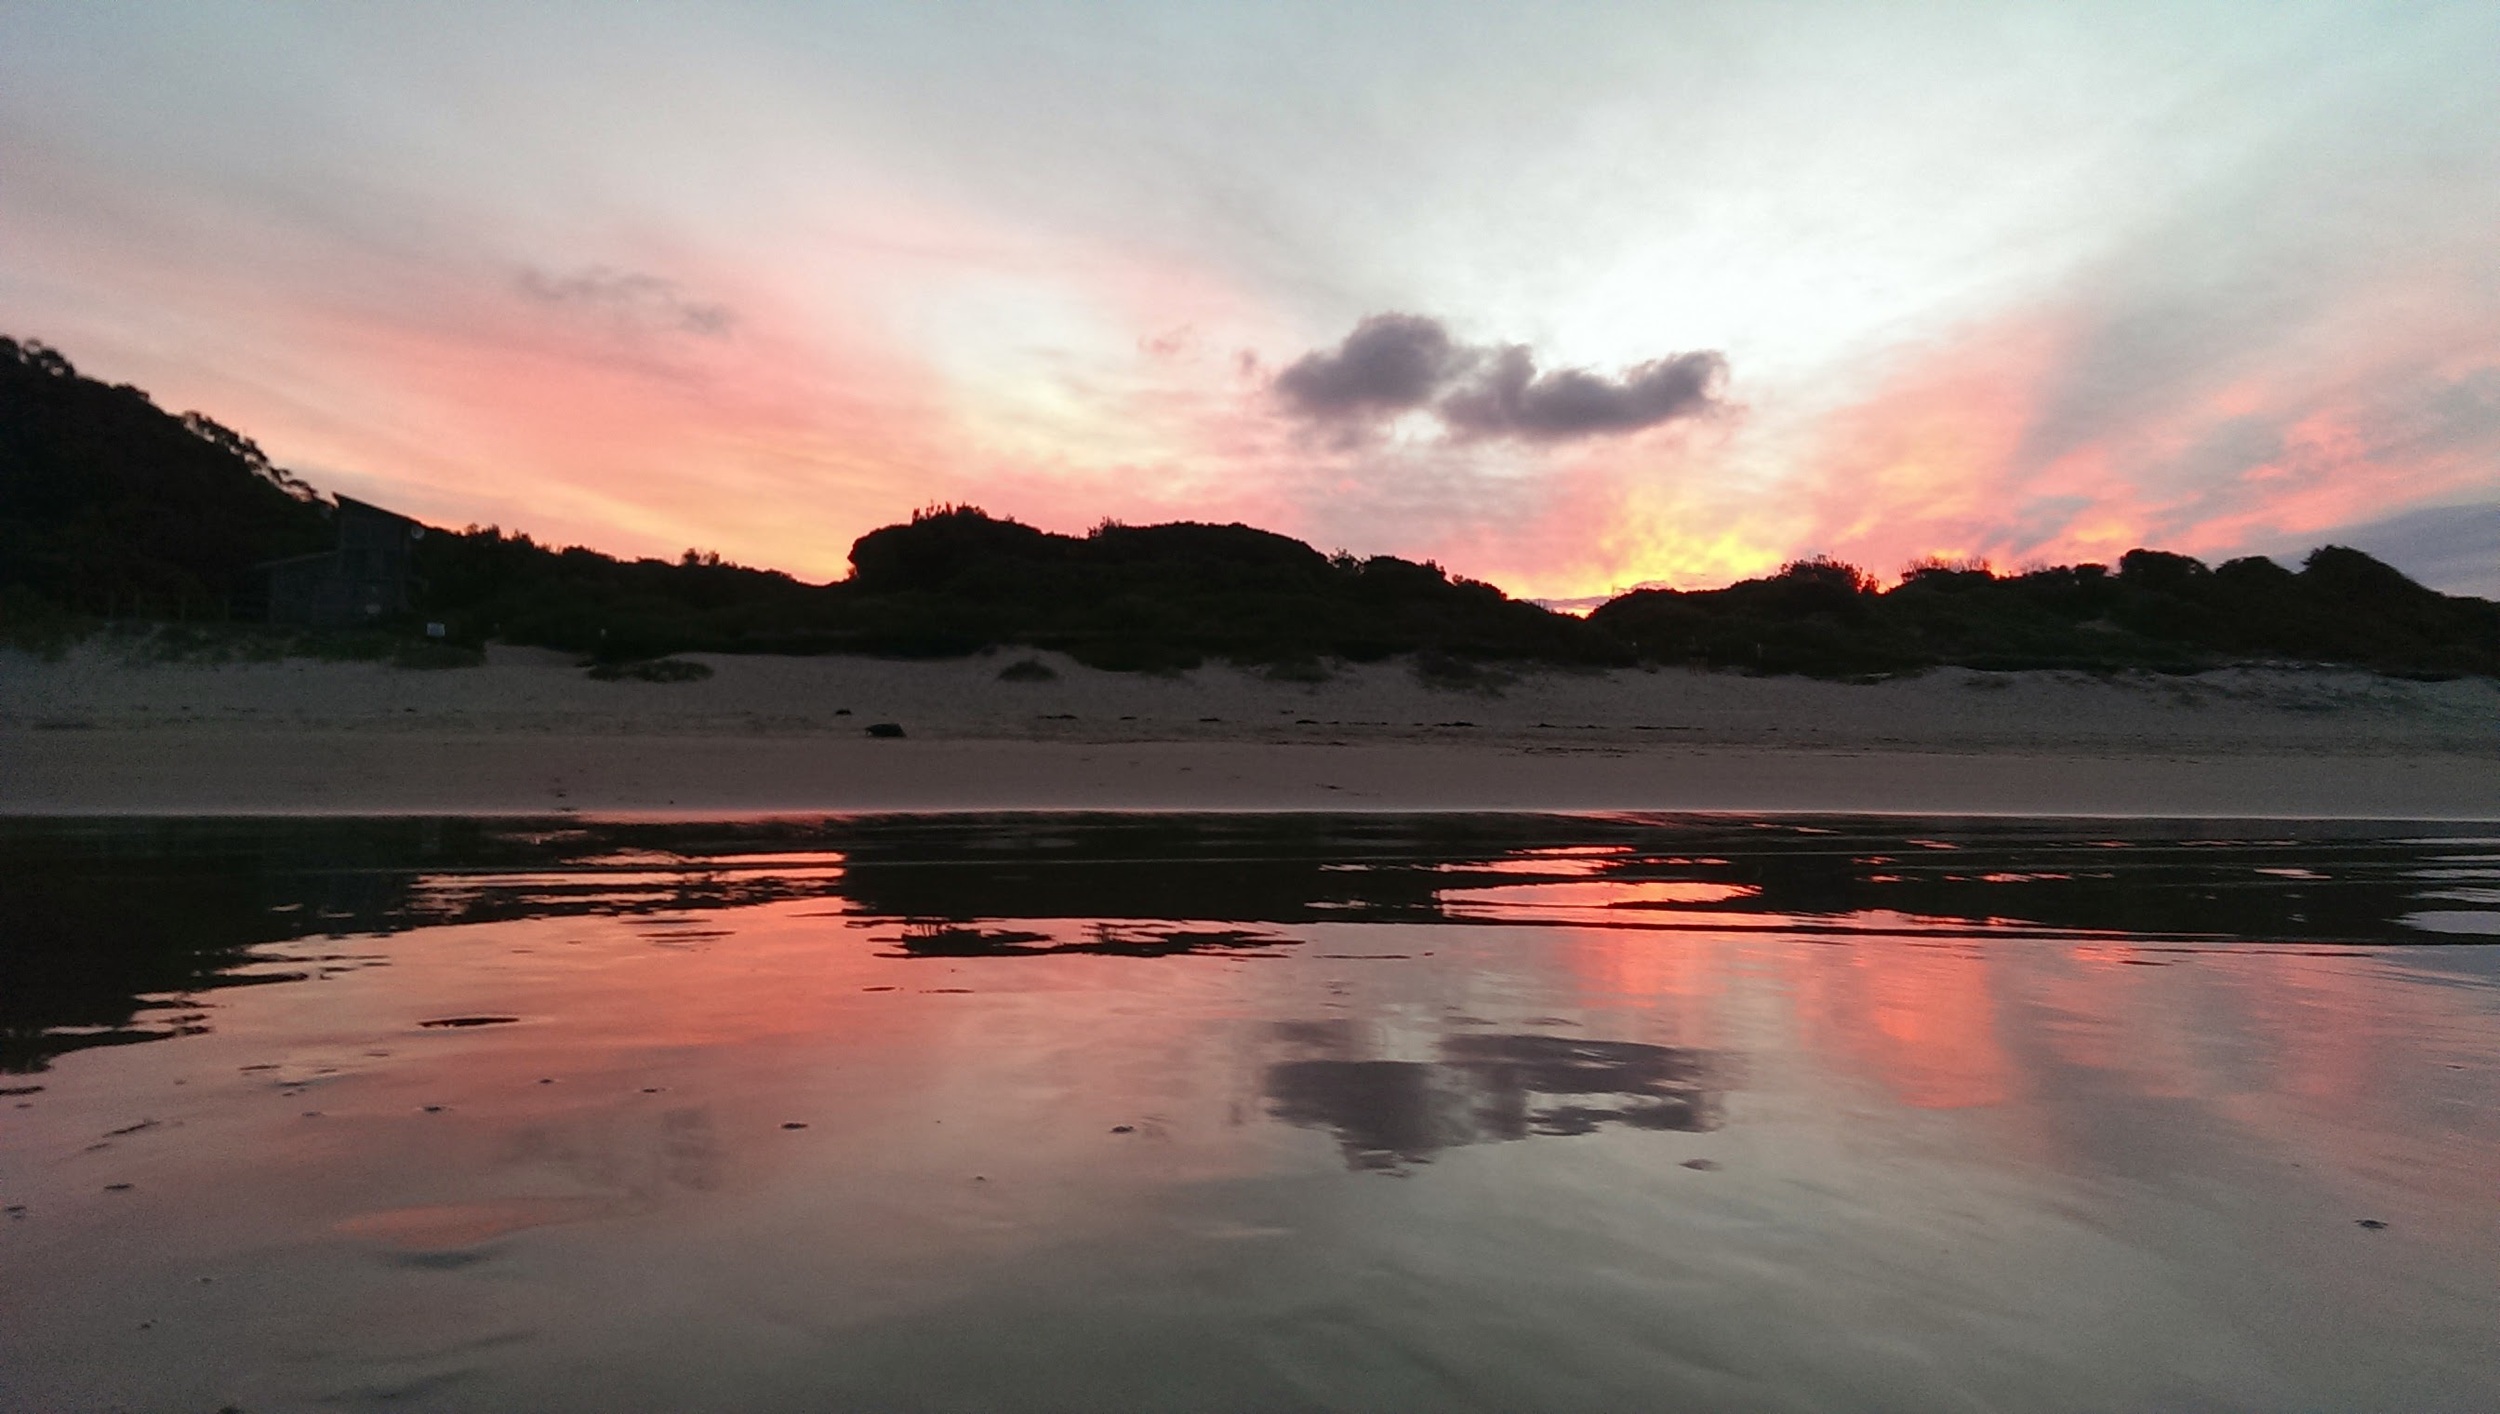
These are photo's I will always treasure, and always look back on in disbelief that I was able to take them. With a little practice and time, you too can be your own master of your camera, and creator of a stunning collection of photographic moments.
Thanks for reading!
Taran here, owner of Nomad'er How Far. I'm fond of psychedelic rock, photography & videography, anything to do with space and I'm also partial to the odd gaming session. Oh and I love to travel :P Get to know me here!
Be social and come follow me across the virtual world!
WANT MORE?


